Traveling is all about capturing memories, and what better way to do that than with stunning aerial shots? Drones have made it easier than ever to elevate our travel photography, even on a budget! If you’re also interested in wildlife photography, check out our Top Destinations for Affordable Wildlife Adventure Photography.
Understanding Drones: What to Look For
When I first decided to invest in a drone for my travel photography, I quickly realized there are several factors to consider. With so many options out there, it can feel overwhelming. I want to break down the essential features to look for, making it easier for you to choose the right drone for your next adventure.
Camera Quality and Specifications
The camera quality is probably the most critical aspect of a drone, especially for travel photography. I remember my first drone had a decent camera, but the images lacked detail. When choosing a drone, look for one with at least a 12MP camera, as this helps capture sharp and vibrant images. Also, consider the video resolution; drones that shoot in 4K will give you that extra edge when editing your travel vlogs. Many budget-friendly drones now come equipped with excellent cameras, so you don’t have to break the bank for quality shots.
Battery Life and Flight Time
I’ve had my fair share of frustrating moments when my drone battery died just before capturing a beautiful sunset. Most budget drones offer around 20 to 30 minutes of flight time, which is generally sufficient for capturing the scenery and getting those perfect shots. However, I recommend checking the battery life specifications before buying. Many manufacturers offer extra batteries, which I found to be a worthwhile investment for extended shooting sessions during trips. The last thing you want is to miss a great photo opportunity because your drone couldn’t stay airborne long enough!
Portability and Weight
As a frequent traveler, I’ve learned that portability is a game-changer. I remember lugging around a heavier drone, which made it tough to hike to those breathtaking viewpoints. A lightweight and compact design can make all the difference. Look for drones that fold up easily and can fit into your backpack. This way, you can carry it along on hikes or trips without feeling weighed down. I often look for drones that come with a carrying case—this not only protects the drone but also makes it easier to transport.
User-Friendly Features
When I first started flying drones, I quickly learned that user-friendly features are a must. For beginners, I recommend looking for drones with features like GPS positioning, one-key takeoff, and landing, and even follow-me modes. These functionalities can make your flying experience much smoother and more enjoyable. I remember trying to control my first drone without GPS, and it was a bit of a disaster! If you’re nervous about flying, investing in a drone with intuitive controls can help you gain confidence and capture stunning images with ease.
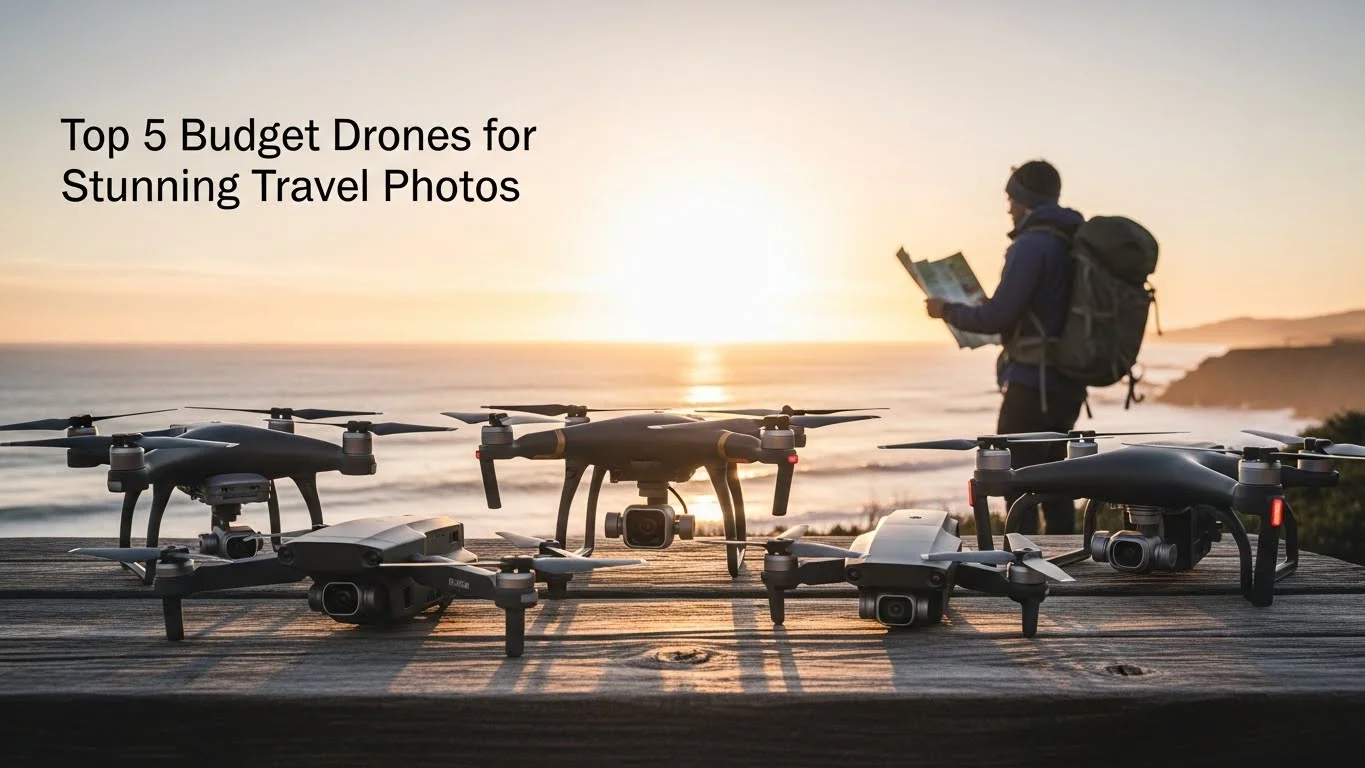
Top 5 Budget Drones for Travel Photography
Now that we’ve covered what to look for in a drone, let’s dive into some of my favorite budget options that excel at capturing breathtaking travel photos.
1. DJI Mini SE
Camera Features
The DJI Mini SE has quickly become one of my favorite budget drones. It boasts a 12MP camera and can record 2.7K video, which is fantastic for both photos and videos. I love how the camera captures vivid colors and sharp details, making my travel memories even more vibrant.
Flight Performance
This drone offers around 30 minutes of flight time, which is impressive for its price point. I’ve flown it in various conditions, and the stability in the air is superb. The Mini SE handles wind quite well, which is something I always keep in mind when flying in outdoor settings.
Portability and Design
What I really appreciate about the DJI Mini SE is its lightweight, foldable design. It easily fits into my travel bag, and I never feel like it’s an extra burden. It makes spontaneous trips and hikes a breeze, and I can whip it out whenever inspiration strikes!
2. Holy Stone HS720
Camera Quality
The Holy Stone HS720 is another excellent choice for budget-conscious travelers. With a 12MP camera that shoots 4K video, I’ve found it to be perfect for creating crisp, professional-looking travel content. The camera’s performance in low-light conditions is also surprisingly good, which is essential for those sunset shots.
Stability and Control
One of the standout features of the HS720 is its GPS-assisted flight, which makes flying feel much more manageable. I remember my first flight with it; the drone hovered steadily, and I felt confident controlling it. Its stability really adds to the quality of the photos, especially when capturing landscapes.
Additional Features
This drone comes equipped with a follow-me mode, which is perfect for capturing dynamic shots while you’re on the move. I’ve used this feature during hikes, and the results were fantastic! It’s like having your personal camera crew following you around.
3. Potensic D85
Camera Capabilities
The Potensic D85 is a powerful contender in the budget drone category. With a 1080P HD camera, I’ve found it does an excellent job of capturing clear images. The camera’s adjustable angle is a plus, allowing for more creative shots.
Flight Range and Control
One of the features I love about the D85 is its impressive flight range—up to 1,500 feet! This gives me the freedom to explore and capture shots from various distances without constantly worrying about losing connection.
Durability and Build Quality
I’ve taken the D85 on several trips, and its robust design has held up well against bumps and minor falls. I feel more secure knowing that it can handle a bit of rough treatment, especially when I’m out in nature.
4. Snaptain SP350
Camera Performance
The Snaptain SP350 is a great drone for those just starting out. It features a 720P HD camera, perfect for capturing good-quality photos without being overwhelming. I’ve found it to be user-friendly, making it a great choice for beginners.
Ease of Use
This drone comes with beginner-friendly features, like one-key takeoff and landing, which I always appreciate. I remember my first flight—it was so simple to launch! The controls are easy to grasp, making it perfect for anyone new to drone flying.
Battery Life
While the battery life is around 10-12 minutes, it’s still sufficient for quick shots and practice flights. Plus, it’s an affordable drone, so I didn’t mind carrying an extra battery or two during my trips.
5. Eachine E520S
Camera Quality
The Eachine E520S is a solid choice if you’re serious about aerial photography. With a 4K camera, I’ve captured stunning images that really pop. It’s great for both photos and videos, making it versatile for any travel adventure.
Flight Features
Featuring GPS positioning, the E520S offers robust flight features, including follow-me and waypoint modes. These functionalities have allowed me to capture unique angles and perspectives while I’m exploring a new place.
Portability
This drone’s foldable design makes it very travel-friendly. I’ve taken it on multiple trips, and it fits perfectly in my backpack without taking up too much space. It’s a great companion for any traveler.
Comparative Analysis of the Top Drones
Now that we’ve explored some fantastic budget drones for travel photography, it’s time to dive deeper into how they stack up against each other. I find that a comparative analysis helps me decide which drone is worth the investment based on my specific needs. Let’s break down several key areas: price, camera quality, flight time, and user reviews.
Price Comparison
When I first started looking at drones, price was a major factor. We all have a budget, and I remember feeling relieved when I found so many great options without sacrificing quality. Here’s how the drones we discussed compare in terms of cost:
- DJI Mini SE: Typically priced around $299, this drone offers excellent value for money with its camera and flight capabilities.
- Holy Stone HS720: Priced at about $299 as well, it’s a great choice for those wanting 4K video without a hefty price tag.
- Potensic D85: Generally found for around $250, this drone is a great option for anyone looking for solid camera performance at a lower price.
- Snaptain SP350: At about $120, it’s perfect for beginners looking to get started without spending a lot.
- Eachine E520S: Priced around $200, it offers a great camera and features for its cost.
Seeing the price differences helped me realize that I could find a drone with the features I needed without overspending. It’s all about what you prioritize in your travel photography.
Camera Quality Comparison
Camera quality is crucial for anyone serious about photography, and I’ve learned that comparing specs directly can help you make an informed decision. Here’s a quick rundown of the camera capabilities of each drone:
- DJI Mini SE: 12MP camera with 2.7K video recording.
- Holy Stone HS720: 12MP camera that captures stunning 4K video.
- Potensic D85: 1080P HD camera that’s perfect for clear images.
- Snaptain SP350: 720P HD camera, good for beginners.
- Eachine E520S: A robust 4K camera that’s ideal for high-quality shots.
For me, the difference between a 720P and a 4K camera is noticeable, especially when I’m editing my travel videos. If you’re serious about capturing high-quality content, I’d lean toward the HS720 or E520S for their superior video quality.
Flight Time Comparison
Flight time can make or break your experience when you’re out capturing those magical moments. I’ve had days where I wished my drone could stay airborne just a bit longer. Here’s how these models compare:
- DJI Mini SE: Approximately 30 minutes of flight time.
- Holy Stone HS720: Offers about 26 minutes of flight time.
- Potensic D85: Around 20 minutes of flight time.
- Snaptain SP350: About 10-12 minutes, which is shorter but still decent for quick shots.
- Eachine E520S: Approximately 20 minutes of flight time.
For me, the longer flight times of the Mini SE and HS720 were game-changers. They allowed me to explore more without constant battery swaps, which is something I always appreciate during long shoots.
User Reviews and Ratings
Finally, I always look at user reviews before making a purchase. Hearing from others who’ve used the drone can provide insights I might not have considered. I often read reviews on sites like Amazon and drone forums to gauge overall satisfaction. Here’s what I found:
- DJI Mini SE: Generally receives high praise for its camera quality and ease of use, with many users raving about its stability.
- Holy Stone HS720: Users love its GPS features, making flying easier and more intuitive.
- Potensic D85: Reviews often mention its robust build quality, perfect for travel.
- Snaptain SP350: Highly recommended for beginners due to its user-friendly controls.
- Eachine E520S: Praised for its excellent camera quality at a reasonable price, making it a favorite among travelers.
For me, user reviews have been invaluable in understanding which drone might suit my needs best. It’s like getting firsthand accounts of what I can expect, which always helps in making a confident decision.
Tips for Capturing Stunning Travel Photos with Drones
Now that we’ve chosen our drones and understand their features, it’s time to discuss how to make the most of them. I’ve gathered some tips that I’ve found helpful in capturing stunning travel photos from the sky. These strategies can take your aerial photography to the next level, ensuring that your travel memories are as breathtaking as the places you visit.
Best Practices for Aerial Photography
One of the first things I learned about aerial photography is that composition is everything. Just like on the ground, framing your shots can dramatically change the outcome. I often use the rule of thirds, which helps create balanced and interesting photos. I’ve found that placing the horizon line either in the upper or lower third of the frame gives a strong focal point to the landscape.
Another best practice is to shoot in RAW format whenever possible. This format retains more detail and provides flexibility in post-processing. I remember capturing a stunning sunset photo and later editing it to enhance colors and contrasts. The RAW format made a world of difference in the final result!
Don’t forget to experiment with different angles and perspectives. When I first started flying my drone, I stuck to the same height and angle for my shots. It wasn’t until I tried flying lower or higher that I discovered some unique compositions. Different heights can give a fresh perspective on familiar landscapes, making your photos stand out.
Optimal Times for Photography
Timing is crucial when it comes to photography. I’ve found that the golden hours—just after sunrise and before sunset—are the best times for capturing stunning aerial shots. The soft, warm light during these times enhances colors and creates beautiful shadows, making everything look magical. I remember one particular morning when I woke up before dawn to capture a sunrise over the mountains; the colors were surreal!
Additionally, keep an eye on the weather. I’ve learned that a bit of cloud cover can add texture to the sky and prevent harsh shadows. However, be mindful of strong winds, especially if you’re flying a lighter drone. I’ve had to postpone flights when wind conditions were unfavorable, but it’s always worth waiting for the right moment to get the perfect shot.
Editing Drone Photography
Editing is where the magic happens! After capturing my aerial photos, I usually spend some time enhancing them to bring out their full potential. I often use software like Adobe Lightroom or Photoshop to adjust exposure, contrast, and saturation. My experience has shown that a little editing can elevate a good photo to something truly spectacular.
I also recommend using presets or filters to maintain a consistent look across your travel photos. I’ve developed a few presets that give my images a cohesive feel, which is great for sharing on social media or creating albums. It’s like having my own style that people can recognize.
Don’t shy away from cropping either! Sometimes, the perfect shot might need a little trimming to focus on the main subject. I’ve cropped out distractions that took away from the beauty of the landscape, and the results were always worth it.
Legal Considerations for Drone Use While Traveling
As much as I love flying my drone, I’ve learned that it’s essential to stay informed about the legalities surrounding drone use in different locations. Regulations can vary greatly from one country to another, and even within regions of the same country. I’ve had to navigate this landscape a few times, and I want to share some vital tips to keep you compliant and safe while enjoying your aerial adventures.
Understanding Local Regulations
Before heading to a new destination, I always research the local drone regulations. Many countries have strict rules about where you can fly and how high you can go. I remember being surprised to find out that some popular tourist spots didn’t allow drone flights. Understanding these regulations ahead of time can save you from potential fines or having your drone confiscated. I usually check the official aviation authority website of the country I’m visiting for the most accurate information.
Required Permits and Licenses
In some cases, you may need specific permits or licenses to fly your drone legally. I’ve had experiences where I was required to apply for a temporary drone permit when traveling to certain national parks. It’s a straightforward process, but it can take time, so planning ahead is crucial. I recommend checking local laws and regulations a few weeks before your trip to ensure you have everything in order.
Safety Guidelines for Flying Drones
Safety should always be a priority when flying drones, especially in crowded areas or near wildlife. I always maintain a safe distance from people, animals, and private property. It’s also vital to keep your drone in sight at all times to avoid losing control. I’ve heard stories of drones getting lost or crashing because the pilot wasn’t paying attention, and I definitely don’t want that to be my story!
Moreover, I make it a practice to check my drone’s equipment before every flight. Making sure the batteries are charged, the propellers are in good condition, and the software is updated can prevent unexpected issues during flight. This small checklist has saved me from quite a few mishaps!
Frequently Asked Questions
What should I look for when choosing a drone for travel photography?
When choosing a drone for travel photography, consider factors such as camera quality (at least a 12MP camera), video resolution (preferably 4K), battery life (20 to 30 minutes of flight time), portability, and user-friendly features like GPS positioning and one-key takeoff.
Which budget drones are recommended for travel photography?
Some recommended budget drones for travel photography include the DJI Mini SE, Holy Stone HS720, Potensic D85, Snaptain SP350, and Eachine E520S. Each offers unique features suitable for capturing aerial shots.
What is the flight time for the DJI Mini SE?
The DJI Mini SE offers approximately 30 minutes of flight time, making it a reliable option for capturing various scenery without frequent battery changes.
How does the camera quality of the Holy Stone HS720 compare to other budget drones?
The Holy Stone HS720 features a 12MP camera that shoots 4K video, making it an excellent choice for those wanting high-quality video content compared to other budget options.
What are the best practices for capturing stunning aerial photos with a drone?
Best practices for aerial photography include using the rule of thirds for composition, shooting in RAW format for better editing flexibility, and experimenting with different angles and heights for unique perspectives.
When is the best time for aerial photography?
The best times for aerial photography are during the golden hours, just after sunrise and before sunset, when the soft light enhances colors and creates beautiful shadows.
What editing software is recommended for enhancing drone photography?
Adobe Lightroom and Photoshop are recommended for editing drone photography to adjust exposure, contrast, and saturation, allowing you to elevate your photos significantly.
What legal considerations should I be aware of when flying a drone while traveling?
It is essential to research local regulations regarding drone use, ensure you have the necessary permits or licenses, and adhere to safety guidelines when flying your drone in different locations.
How can I maintain safety while flying my drone?
To maintain safety while flying a drone, always keep it in sight, maintain a safe distance from people and wildlife, and check the drone’s equipment, including battery charge and propeller condition, before each flight.
What features should beginners look for in a drone?
Beginners should look for drones with user-friendly features such as GPS positioning, one-key takeoff and landing, and follow-me modes to enhance their flying experience and boost confidence.
Read Interesting article: Discover Sustainable Practices in Wildlife Tours
Read Interesting article: Must-Have High-End Gear for Luxe Family Getaways