Transforming your aerial shots can elevate your travel memories into stunning visuals. With the right editing tips, you can turn ordinary views into breathtaking images that truly capture the essence of your adventures. For more insights, check out our guide on Mastering Aerial Photo Editing: Essential Tips for Backpackers.
Understanding Aerial Photography Basics
Aerial photography is a fascinating realm that offers unique perspectives of our world. I remember the first time I took an aerial shot from a drone while traveling through the lush landscapes of New Zealand. The sweeping views and the ability to capture expansive scenery from above felt exhilarating. Understanding aerial photography basics is crucial to getting those stunning shots, so let’s dive into the key elements.
The Importance of Perspective in Aerial Shots
One of the most significant advantages of aerial photography is perspective. When we shoot from above, we can reveal patterns and shapes in the landscape that are often missed from the ground. I’ve noticed that different altitudes can dramatically change how a scene is perceived. For instance, a shot taken from a lower altitude can evoke intimacy, while a higher altitude can portray vastness. Consider how the perspective will influence the story you want to tell with your image. I often play with various heights during my shoots to see which angle captures the feeling I want to convey best.
Essential Equipment for Capturing Aerial Images
Now, let’s talk equipment. To get started with aerial photography, you’ll need a reliable drone or an aerial camera rig. I’ve experimented with a few different models, and I’ve found that having a drone with a good camera is essential for high-quality shots. Look for features like 4K video capability, stability in windy conditions, and a decent battery life. My favorite drone is one that’s lightweight and easy to transport, making it perfect for my travel adventures.
Alongside the drone, investing in spare batteries, ND filters, and even a decent smartphone app for flight planning can enhance your aerial photography experience. I always make sure to have extras on hand, as you never know when you might want that perfect shot. Also, don’t forget about safety measures. Understanding local laws regarding drone usage is critical to ensuring you can shoot without any worries. For more information on this topic, refer to Aerial Photography Laws: What Every Backpacker Should Know.
Choosing the Right Editing Software
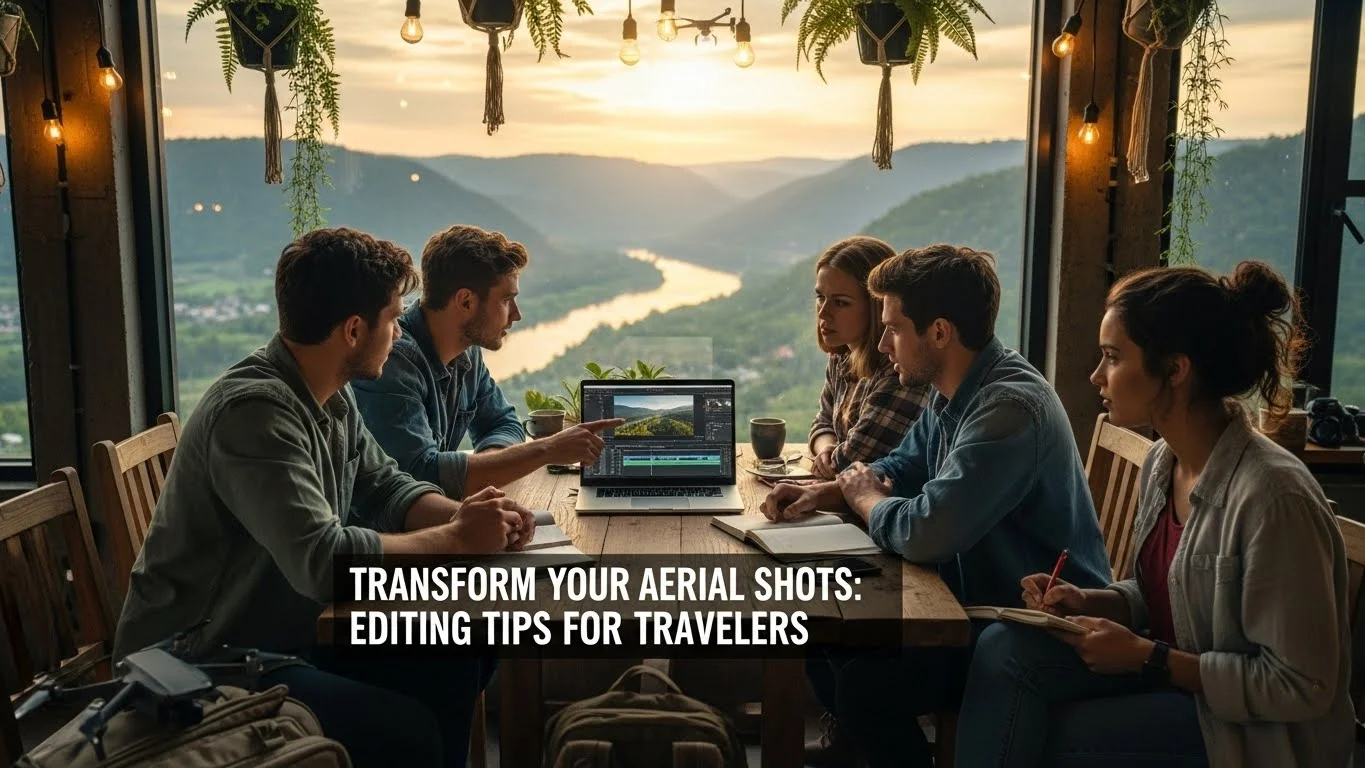
Once you’ve captured your aerial shots, the next step is editing. This is where you can really bring your images to life. Choosing the right editing software can make a world of difference in the final result.
Popular Editing Tools for Aerial Photography
I’ve tried numerous editing programs over the years, and I can confidently say that Adobe Lightroom and Photoshop are among the top choices for photographers. Lightroom excels in batch processing and organizing photos, while Photoshop offers advanced editing capabilities. For those who prefer a more user-friendly interface, I’ve found that apps like Snapseed or Pixlr can also be quite effective for quick edits on the go. Each tool has its strengths, and it’s worth exploring a few to see which suits your style best.
Comparing Free vs. Paid Software Options
When it comes to editing software, you’ll encounter both free and paid options. From my experience, while free programs can be decent for basic editing, they often lack the advanced features needed for aerial shots. I remember trying a free tool once, and while it worked in a pinch, I felt limited by its capabilities. If you’re serious about enhancing your aerial photography, investing in a paid solution can be worthwhile. Many offer trial versions, allowing you to test them out before committing. For budget-friendly options, check out our article on Top Techniques for Editing Aerial Photos on a Budget.
Fundamental Editing Techniques for Aerial Shots
After choosing your editing software, it’s time to dive into some fundamental techniques. These are the building blocks of transforming your aerial shots into eye-catching images.
Adjusting Exposure and Contrast
One of the first things I do when editing my aerial photos is adjust the exposure and contrast. Aerial shots can sometimes appear washed out due to the bright skies. I recommend using the histogram to guide your adjustments. Often, a simple tweak here can bring life back to the image. For me, it’s about finding that sweet spot where the details in the shadows and highlights are both visible and balanced.
Color Correction for Vibrant Landscapes
Next, color correction is vital, especially for landscapes. The colors in aerial shots can sometimes be misleading due to camera settings or lighting conditions. I’ve learned to play with the saturation and vibrance sliders to enhance the natural beauty of the landscape without overdoing it. It’s essential to keep the colors looking natural while making them pop. I often reference my original scene to ensure the edited image remains true to what I experienced.
Crop and Composition Enhancements
Lastly, I often take a good look at the composition of my images. Cropping can help eliminate distractions and direct the viewer’s focus to the main subject. I’ve found that adhering to the rule of thirds can create a more balanced image. If there are elements in the frame that don’t contribute to the story, I don’t hesitate to crop them out. It’s all about enhancing the visual appeal while staying true to the essence of the moment I captured.
Advanced Editing Techniques
Once you’ve mastered the fundamental editing techniques, it’s time to elevate your aerial photography even further with some advanced editing techniques. These methods can truly transform your images, allowing you to add depth and interest that really draws the viewer in.
Using Layers and Masks for Precision
One of my favorite features in Photoshop is the ability to use layers and masks. This technique allows for precise edits without permanently altering the original image. I remember the first time I experimented with layers; it felt like unlocking a whole new level of creativity. By separating different elements of my image into layers, I could make targeted adjustments. For instance, if the sky looked overexposed, I could create a mask just for that area and adjust the exposure without affecting the rest of the image.
When using masks, I often use a soft brush to blend changes seamlessly. This technique has helped me refine details in my aerial shots, like enhancing the clouds or improving the contrast in the landscape below. I recommend spending a little time getting comfortable with this feature, as it can make a huge difference in the quality of your edits.
Implementing HDR for Dynamic Range
High Dynamic Range (HDR) imaging is another technique I’ve come to love for aerial photography. This method involves taking multiple shots at different exposures and merging them together to create a single image with a broader range of light and detail. I remember capturing a stunning sunset over the mountains, and the HDR process brought out the colors in the sky while still retaining the details in the shadows below. It’s a game changer for those scenes where both the highlights and shadows are essential.
For HDR, I use a tripod to ensure my images align perfectly. Some drones even have an HDR mode, which simplifies the process. After capturing the images, I merge them in my editing software, adjusting the settings to achieve a natural look. It’s a bit of extra work, but the results are often worth it, creating images that feel vibrant and lifelike.
Creating Panoramas from Multiple Images
Panoramas are another fantastic way to showcase vast landscapes from above. I’ve had some memorable experiences stitching together images to create sweeping vistas, especially when exploring breathtaking coastlines or sprawling cities. The beauty of aerial panoramas lies in their ability to convey a sense of scale that a single shot may not capture.
To create a panorama, I take overlapping shots as I slowly rotate my drone or camera. In my case, I typically aim for about a 30% overlap to ensure a smooth blend later on. Once I have my images, I use software like Lightroom or Photoshop to stitch them together. This process usually involves selecting the images and letting the software do its magic. It’s fascinating to see individual images transform into a cohesive panorama that encapsulates an entire scene.
Enhancing Visual Impact
After you’ve incorporated advanced techniques, it’s time to focus on enhancing the visual impact of your photos. These techniques can significantly elevate your final images and make them stand out.
Applying Filters and Presets
Filters and presets can dramatically change the mood of your aerial shots. I often find myself experimenting with different styles, whether I’m aiming for a vibrant, sunny look or a moody, dramatic effect. I’ve created a few of my own presets based on the styles I love, which helps speed up my editing process.
When applying filters, I usually adjust the intensity to maintain a natural look. I once over-applied a filter to a beautiful forest shot, and while it was striking, it didn’t reflect the original beauty I saw that day. Subtlety is key. I recommend playing around with various filters and presets to see how they can enhance your photos without overwhelming them.
Focus on Leading Lines and Natural Patterns
In aerial photography, leading lines and natural patterns can guide the viewer’s eye through the image. I’ve noticed that when I emphasize these elements, my photos become more engaging. Look for roads, rivers, or even the lines of fields and mountains that draw the viewer into the scene. Enhancing these lines during editing can amplify their impact.
In my editing process, I might boost the contrast or clarity of these elements to ensure they stand out. It’s all about drawing attention to the beautiful patterns that nature creates from above. I’ve seen how this can transform an ordinary shot into something mesmerizing, making it a memorable piece of art.
Saving and Sharing Your Edited Aerial Shots
Once you’ve completed your edits, it’s essential to save and share your work properly to showcase your stunning aerial shots to the world.
Optimal File Formats for Different Platforms
When saving your images, I’ve learned that choosing the right file format is crucial. For online sharing, JPEGs are typically the go-to option due to their smaller file size and broad compatibility. However, for prints or high-quality displays, I prefer saving in TIFF or PNG formats, as they maintain more detail and color depth.
Each platform has its specifications, too. For social media, keeping file sizes manageable while maintaining quality is important. I often resize my images for different platforms, ensuring they look sharp and appealing on Instagram, Facebook, or my personal blog.
Best Practices for Social Media Sharing
When it comes to sharing on social media, I’ve found that timing and captions can make a big difference in engagement. Posting during peak hours can help your images reach a wider audience. Additionally, writing a captivating caption that shares the story behind the shot can draw people in. I often include details about my experience during the shoot or what inspired me. It adds a personal touch that resonates with viewers.
Don’t forget to use relevant hashtags to increase visibility and connect with fellow photography enthusiasts. I’ve also discovered that engaging with comments and sharing behind-the-scenes glimpses can help build a community around my work, making the sharing experience even more rewarding.
Common Mistakes to Avoid in Aerial Editing
As I’ve honed my skills in aerial photography and editing, I’ve made my fair share of mistakes along the way. These missteps can easily detract from the beauty of a photo and even the overall experience of sharing it. Learning to recognize and avoid common pitfalls can make all the difference in the final outcome of my images.
Over-Editing and Maintaining Authenticity
One of the most significant mistakes I see—and have made myself—is over-editing photos. When I first started editing, I was so excited about the possibilities that I often went overboard with adjustments. I remember one particular image of a vibrant sunset where I cranked up the saturation and contrast to the point where it looked unnatural. While it stood out, it lost the essence of the moment I had captured.
From my experience, maintaining authenticity is crucial. It’s essential to enhance your images while still keeping them true to what you actually saw. I now take a more restrained approach, often reminding myself that subtlety can have a far more significant impact. I recommend stepping away from your edits for a bit and then coming back to see if it still resonates with the experience you had when capturing the shot. Sometimes taking a fresh look can help you spot those areas where you might have overdone it.
Neglecting Composition Fundamentals
Another mistake I’ve noticed among both beginners and more experienced photographers is neglecting the fundamentals of composition. Aerial photography can be mesmerizing, but that doesn’t mean we should overlook the basic principles that make an image engaging. I’ve found that sometimes in my excitement to capture a stunning view, I’ve forgotten to consider the framing and composition of my shots.
One key element to keep in mind is the rule of thirds. Placing points of interest along these lines or at their intersections can create a more balanced and compelling image. I often find myself re-evaluating my crop, making sure the main subject doesn’t get lost in the vastness of the landscape. Additionally, keeping an eye on leading lines can help guide the viewer’s eye through the image, creating a sense of depth and movement.
It’s easy to get wrapped up in the excitement of aerial photography, but taking a moment to assess the composition can elevate the overall impact of the photo. I’ve learned that being mindful of these elements, even in the editing phase, can help me create images that truly resonate with viewers.
Resources for Further Learning
As I continue to explore aerial photography, I’ve discovered that there’s always more to learn. Whether it’s new editing techniques, updates on equipment, or inspiration from fellow photographers, tapping into various resources can help us all improve our skills.
Online Courses and Tutorials for Aerial Photography
One of the best ways I’ve found to enhance my skills is through online courses. Platforms like Skillshare and Udemy offer a variety of classes specifically focused on aerial photography and editing. I remember enrolling in a course that covered drone photography techniques, and it opened my eyes to new methods I hadn’t considered before. These courses often provide valuable insights from experienced photographers, helping us understand the nuances of both capturing and editing aerial shots.
YouTube is another fantastic resource for tutorials. I love browsing channels dedicated to photography and drone operations, where I’ve found everything from basic how-tos to advanced editing tips. Watching others share their experiences can be incredibly motivating and insightful. I often take notes while watching, eager to implement new techniques in my own editing process.
Recommended Books and Blogs on Photo Editing
In addition to online courses, I’ve come across some excellent books and blogs that delve deep into photo editing. One book that stands out to me is “The Digital Photography Book” by Scott Kelby, which offers practical advice and easy-to-follow tips that can enhance any photographer’s skill set. I often refer back to it when I need inspiration or a refresher on specific techniques.
As for blogs, I’ve found several photography-focused sites that regularly post articles on editing techniques, gear reviews, and creative inspiration. Websites like PetaPixel and Fstoppers have become staples in my reading list. They not only keep me updated on industry trends but also provide a wealth of knowledge from professionals in the field.
Exploring these resources has helped me grow as a photographer and editor. I recommend setting aside some time to dive into these materials; you might just discover a new technique or perspective that transforms your work!
Frequently Asked Questions
What is aerial photography?
Aerial photography is the practice of taking photographs from an elevated position, typically using drones or aerial camera rigs, to capture unique perspectives of landscapes and scenes that may be missed from the ground.
Why is perspective important in aerial shots?
Perspective is crucial in aerial shots as it reveals patterns and shapes in the landscape that are often overlooked from the ground. Different altitudes can dramatically change the perception of a scene, affecting the emotional impact of the image.
What equipment is essential for aerial photography?
Essential equipment for aerial photography includes a reliable drone or an aerial camera rig, preferably with features like 4K video capability and stability in windy conditions. Additional items like spare batteries, ND filters, and a flight planning app can also enhance the experience.
Which editing software is recommended for aerial photography?
Popular editing software for aerial photography includes Adobe Lightroom and Photoshop for their advanced capabilities. For more user-friendly options, apps like Snapseed or Pixlr are effective for quick edits.
What are some fundamental editing techniques for aerial shots?
Fundamental editing techniques for aerial shots include adjusting exposure and contrast, performing color correction, and enhancing composition through cropping. These techniques help to bring life and clarity to the images.
How can advanced editing techniques improve aerial photography?
Advanced editing techniques, such as using layers and masks for precision, implementing HDR for dynamic range, and creating panoramas from multiple images, can significantly enhance the quality and depth of aerial photographs.
What mistakes should be avoided in aerial editing?
Common mistakes to avoid in aerial editing include over-editing, which can lead to unnatural results, and neglecting composition fundamentals like the rule of thirds, which can detract from the overall impact of the image.
What resources are available for further learning in aerial photography?
Resources for further learning in aerial photography include online courses on platforms like Skillshare and Udemy, YouTube tutorials, and recommended books and blogs that focus on photography and editing techniques.
What file formats are best for saving edited aerial images?
For online sharing, JPEG is the preferred file format due to its smaller size and compatibility. For prints or high-quality displays, TIFF or PNG formats are recommended as they maintain more detail and color depth.
How can I effectively share my edited aerial shots on social media?
To effectively share edited aerial shots on social media, consider posting during peak hours, writing engaging captions that tell the story behind the shot, using relevant hashtags for visibility, and interacting with comments to build a community around your work.