Urban photography can transform ordinary city scenes into extraordinary visual stories. With the right editing techniques, you can elevate your photos and capture the essence of urban life. If you’re looking to explore urban photography without breaking the bank, Explore Iconic Urban Photography Locations on a Budget offers fantastic insights.
Understanding Urban Photography
The Essence of Urban Photography
Urban photography is more than just snapping pictures of buildings or streets; it’s about capturing the heartbeat of a city. I remember my first time wandering through downtown with my camera, feeling the energy of the bustling crowds and the rhythm of the city. I’ve learned that urban photography reflects the culture, architecture, and emotions of the people who inhabit these spaces. It tells stories through the lens, showcasing everything from towering skyscrapers to the intimate life of street vendors.
When I think of what makes urban photography special, I realize it’s about finding unique perspectives and details that often go unnoticed. Shadows cast by buildings, reflections in puddles, or the vibrant colors of street art can all play a role in creating a compelling photograph. For me, it’s exciting to explore different neighborhoods, discovering the hidden gems that make each area distinct. To discover more great spots, check out Top 10 Urban Photography Spots for Budget Backpackers.
Common Challenges in Urban Photography
While urban photography is thrilling, it comes with its own set of challenges. One of the biggest hurdles I faced was dealing with harsh lighting conditions, especially during midday when the sun is blazing. I’ve learned that the light can create unwanted shadows or wash out colors. Early mornings or late afternoons, often referred to as the golden hour, are golden indeed for capturing softer light.
Another challenge I encountered was composition in busy environments. There can be so many distractions in urban settings that it can be tough to focus on the subject. I’ve found that taking a step back and observing the scene can help me identify what to include or exclude for a cleaner composition. This practice has made a significant difference in the overall impact of my photos.
One obstacle I believe many photographers face is the feeling of being overwhelmed by the sheer number of options and elements present in a bustling city. Sometimes, it helps to have a clear vision or theme in mind. I started asking myself questions like: What story do I want to tell? Is it about the architecture, the people, or a specific event? This approach has guided me in crafting more meaningful photographs.
Finally, capturing movement can be tricky. Whether it’s cars zooming by or people rushing along the street, freezing that moment in time requires practice. I experimented with different shutter speeds to find that sweet spot where motion is either captured sharply or artistically blurred. It’s all about what you want to convey through your image.
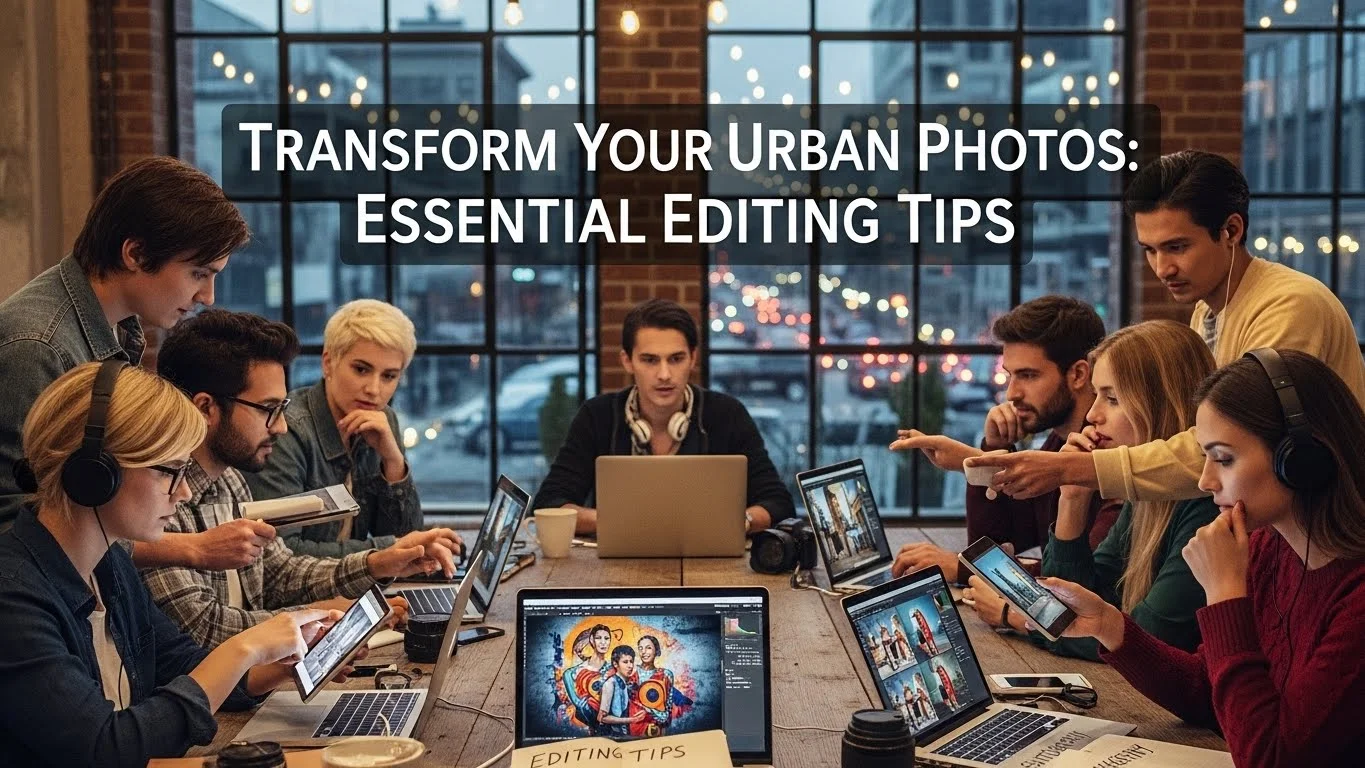
Essential Editing Tools for Urban Photos
Photo Editing Software Overview
Editing is where the magic truly happens, and having the right tools can make all the difference. Personally, I’ve tried various software options, but a few have become staples in my editing process. Adobe Lightroom is one of my favorites; it offers a user-friendly interface and powerful features that let me adjust everything from exposure to color balance. I love how easy it is to create presets, which speeds up my workflow for consistent editing across multiple photos.
Another excellent option is Adobe Photoshop. While it has a steeper learning curve, the layering and masking capabilities are incredible. I remember spending hours learning how to manipulate images to achieve the desired results. If you’re looking for something free, GIMP is a robust alternative that offers many advanced features without the price tag.
Mobile Editing Apps for Quick Fixes
Sometimes, I find myself on the go, and that’s where mobile editing apps come in handy. Apps like Snapseed and VSCO have become my go-to for quick edits while I’m out and about. Snapseed, in particular, has a range of features that enable me to fine-tune my photos with just a few taps. I appreciate how easy it is to apply filters or adjust brightness and contrast without needing a computer.
VSCO, on the other hand, provides beautiful presets that can instantly enhance a photo’s mood. I’ve often found myself scrolling through its library, looking for that perfect filter that complements my urban shots. While I love the convenience of these apps, I always try to maintain a balance, ensuring that my edits enhance rather than overwhelm the original image.
Incorporating these tools into my editing routine has transformed the way I approach my urban photography. It’s about finding the right balance between creativity and technical skill. Embracing both aspects has helped me tell richer stories through my images, allowing my urban photography to shine. I can’t wait to share more tips and techniques that I’ve picked up along the way! If you’re interested in mastering candid shots, Exploring Cities: Mastering Candid Urban Photography on a Budget is a great resource.
Basic Editing Techniques to Enhance Your Urban Shots
Adjusting Exposure and Contrast
One of the first things I learned about editing is the importance of exposure and contrast. When I first started editing my urban photos, I often found them looking flat or dull. I quickly realized that adjusting the exposure could breathe life into my images. I remember discovering the importance of not just brightening the shadows but also ensuring the highlights didn’t get blown out. It’s like finding that sweet spot where all the details shine without losing the essence of the moment I captured.
Contrast plays a crucial role, too. I’ve learned to increase contrast to make the urban elements pop, especially in photos with a lot of textures, like brick walls or intricate architectural details. By adjusting contrast, I can emphasize the differences between light and dark areas, resulting in a more dynamic photograph. I usually start by adjusting the exposure slightly, then tweak the contrast until I feel the image has that punchy feel that draws the viewer in.
Color Correction for Urban Landscapes
Urban landscapes can be tricky when it comes to color accuracy. I’ve often found that the colors in my images don’t always reflect what I saw with my own eyes. I remember one particular photo where the sky looked washed out, and the colors of the buildings seemed muted. That’s when I started delving into color correction.
I find it helpful to adjust the white balance to ensure that the colors look true to life. Sometimes, I’ve had to cool down the warmth of a sunset shot or warm up a gray day to bring back the vibrancy. There’s something incredibly satisfying about seeing the colors come to life during this process. I often use the HSL (Hue, Saturation, Lightness) sliders to tweak individual colors, making sure the reds, greens, and blues reflect the energy of the city. This technique has helped me create a stronger connection between the viewer and the scene.
Sharpening Images for Clarity
After enhancing exposure and color, I realized that sharpening was the final touch that brought everything together. I remember my early attempts at sharpening; I was often too aggressive and ended up with a grainy look. Over time, I learned the importance of subtlety. Now, I apply sharpening carefully, focusing on the areas that matter most, like the edges of buildings or intricate details in street scenes.
Each editing software has its own sharpening tools, and I typically use a combination of global sharpening and selective sharpening. This means I’ll apply a general sharpening effect across the image, then enhance specific areas where I want to draw attention. I’ve noticed that this technique not only improves clarity but also helps to guide the viewer’s eye to the focal points in my photos. It’s like giving my images a little polish, making them stand out in a crowded feed.
Advanced Editing Techniques for Stunning Results
Utilizing Layers and Masks
As I became more comfortable with editing, I started exploring the world of layers and masks. At first, the idea seemed daunting, but once I got the hang of it, I discovered how powerful these tools could be. I remember one specific project where I wanted to combine two different photos to create a unique urban scene. Layers allowed me to stack images, and masks let me control which parts of each layer were visible.
This approach opened up a whole new level of creativity. For instance, I could enhance the sky in one image while keeping the cityscape intact from another. By using masks, I could seamlessly blend the two, creating a more compelling and dynamic photograph. This technique has become invaluable for correcting specific areas without affecting the entire image.
Creating Depth with Selective Focus
Depth adds a certain richness to urban photography that can elevate an image. I learned that by using selective focus, I could draw attention to specific subjects while creating a soft blur around them. I often experiment with this technique in busy environments where distractions abound. By applying a shallow depth of field, I can isolate my subject and create a more intimate connection with the viewer.
I usually achieve this effect by adjusting the aperture settings on my camera, but post-processing can also help. In my editing software, I can use selective blur tools to enhance the depth further. It’s fascinating how this technique can transform an ordinary scene into something that feels more three-dimensional and engaging.
Transforming Skies and Weather Effects
Urban photography often benefits from dynamic skies and weather effects. I remember feeling frustrated when I’d capture a breathtaking cityscape only to have a bland, gray sky in the background. That’s when I started experimenting with transforming skies during the editing process. I learned how to replace or enhance skies in my images, which can dramatically change the mood and narrative.
Whether it’s adding dramatic clouds or a vibrant sunset, the right sky can add so much storytelling power. I often use blending modes and adjustment layers to create a seamless look. It’s a bit of a trial-and-error process, but when it comes together, it feels like magic. Adding elements like rain or snow can also enhance the atmosphere, making the viewer feel as if they’re right there in the moment with me.
All of these techniques have become part of my journey in urban photography. Each step in the editing process is a chance to tell a story, to enhance the experience, and to invite viewers into my world. I’m excited to continue sharing more tips that have influenced my photography journey!
Specific Tips for Different Urban Subjects
Editing Cityscapes for Maximum Impact
Cityscapes are one of my favorite subjects in urban photography. There’s something captivating about capturing the skyline, especially during sunset or twilight when the lights begin to twinkle. One technique I’ve found particularly effective is to enhance the contrast and saturation of the buildings. This makes them pop against the often dramatic skies. I remember when I edited a shot of a famous skyline; I adjusted the shadows to create depth in the buildings while boosting the highlights to make the glass windows sparkle.
Additionally, I like to play with the clarity slider. Increasing clarity can help bring out texture in the buildings and foreground elements, creating a more vivid representation of the urban environment. I’ve also learned that including leading lines, such as roads or paths, can guide the viewer’s eye toward the cityscape, enhancing the overall composition. It’s a great way to draw attention to the architectural beauty that defines urban landscapes.
Enhancing Street Photography
Street photography holds a special place in my heart because it captures the essence of everyday life. When editing these candid shots, I focus on mood and emotion. I often experiment with black and white conversions to emphasize the rawness of the moment. This technique can convey feelings more powerfully than color sometimes. I remember a particular shot of a street performer; converting it to black and white allowed me to highlight the expressions of both the performer and the audience, creating a more poignant image.
In addition to color adjustments, cropping plays a significant role in street photography. By framing the shot tightly, I can eliminate distractions and focus on the subject. This helps to create a stronger narrative. I also like to use vignetting subtly to draw attention toward the center of the image, enhancing that intimate feel. It’s like creating a spotlight on the life happening in the streets.
Improving Architectural Shots
Architectural photography is all about showcasing the beauty and intricacy of structures. When I edit my architectural shots, I pay close attention to perspective correction. I’ve encountered many photos where buildings appear distorted due to the angle I shot from, which can be distracting. Using tools in editing software to correct perspective helps to straighten lines and maintain the integrity of the architecture.
Another technique that has worked wonders for me is highlighting details. I often zoom in on specific architectural features like doorways or decorative elements and apply selective sharpening. This draws the viewer’s attention to the unique aspects that might otherwise go unnoticed. I’ve also experimented with different color palettes to match the mood of the building—warmer tones for historic structures and cooler tones for modern designs. It’s fascinating how color can change the perception of an architectural photograph.
Creative Editing Styles and Trends
Black and White vs. Color Editing
Choosing between black and white and color editing is a decision I often wrestle with. Each style has its unique strengths. Black and white editing can convey timelessness and emotion, while color editing captures the vibrancy of urban life. I’ve found that some images lend themselves better to monochrome, especially when the play of light and shadows creates striking contrasts. For instance, capturing a rainy day in the city can evoke a sense of nostalgia when rendered in black and white.
On the flip side, color editing allows me to highlight the lively hues of street art or the vibrancy of market scenes. I’ve learned that sometimes, a photo can benefit from both styles. I’ll create a black and white version alongside a color version to see which one tells the story better. It’s about experimenting and finding what resonates most.
Vintage and Film Effects
Recently, I’ve been drawn to vintage and film effects, which add a nostalgic charm to urban photography. I remember stumbling upon some old photos of my city and feeling inspired by the faded colors and grainy textures. By using filters and textures in my editing software, I’ve been able to replicate that vintage look in my own photographs. This technique works beautifully for street scenes, lending them a sense of history and character.
I usually play with grain levels, softening the overall sharpness and adding vignetting for that classic film feel. There’s something magical about seeing a modern city through the lens of the past, creating an intriguing juxtaposition that sparks conversation.
HDR Techniques in Urban Photography
High Dynamic Range (HDR) photography is another technique I’ve embraced, especially for urban landscapes. This method allows me to capture a broader range of light and detail, which is crucial in environments with stark contrasts between light and shadow. I remember taking a photo of a city at dusk, where the bright lights and dark buildings created a challenging scene. By combining multiple exposures, I was able to create a balanced image that showcased both the city lights and the architectural details.
In my experience, the key to HDR is subtlety. I’ve seen many HDR images that look overly processed, losing the natural feel. I’m careful to blend the exposures just enough to maintain realism while still enhancing the details. It’s about finding that perfect balance to create a stunning urban photo that feels alive.
Frequently Asked Questions
What is urban photography?
Urban photography is about capturing the heartbeat of a city, reflecting its culture, architecture, and the emotions of its inhabitants. It tells stories through images, showcasing everything from skyscrapers to street vendors.
What are some common challenges faced in urban photography?
Common challenges include harsh lighting conditions, busy environments that complicate composition, feeling overwhelmed by options, and capturing movement effectively. Addressing these challenges often requires a clear vision or theme and experimenting with techniques like shutter speed.
Which photo editing software is recommended for urban photography?
Adobe Lightroom and Adobe Photoshop are highly recommended for urban photography. Lightroom is user-friendly with powerful features, while Photoshop offers advanced capabilities like layering and masking. GIMP is a free alternative that also provides many features.
What mobile editing apps can be used for quick fixes in urban photography?
Snapseed and VSCO are popular mobile editing apps. Snapseed offers a range of features for fine-tuning photos, while VSCO provides beautiful presets to enhance photos’ moods quickly.
How can exposure and contrast be adjusted in urban photography?
Adjusting exposure and contrast is crucial for enhancing urban photos. Increasing exposure can bring life to dull images, while adjusting contrast helps to emphasize textures and create a more dynamic photograph.
What techniques can improve color accuracy in urban landscapes?
Techniques for improving color accuracy include adjusting the white balance and using the HSL sliders to tweak individual colors. This helps ensure that the colors reflect the scene as seen in real life.
What are layers and masks, and how do they enhance urban photography?
Layers and masks are powerful editing tools that allow photographers to stack images and control visibility. They enable selective editing, enhancing specific areas of a photo without affecting the entire image, thus creating more compelling compositions.
How can depth be created in urban photography?
Depth can be created using selective focus to draw attention to specific subjects while blurring the background. This can be achieved through camera aperture adjustments or selective blur tools in editing software.
What is the significance of HDR techniques in urban photography?
HDR techniques capture a broader range of light and detail, which is essential in urban environments with stark light contrasts. By combining multiple exposures, photographers can create balanced images that showcase both highlights and shadows.
How do black and white and color editing differ in urban photography?
Black and white editing conveys timelessness and emotion, while color editing highlights the vibrancy of urban life. Photographers often experiment with both styles to determine which better tells the story of the image.