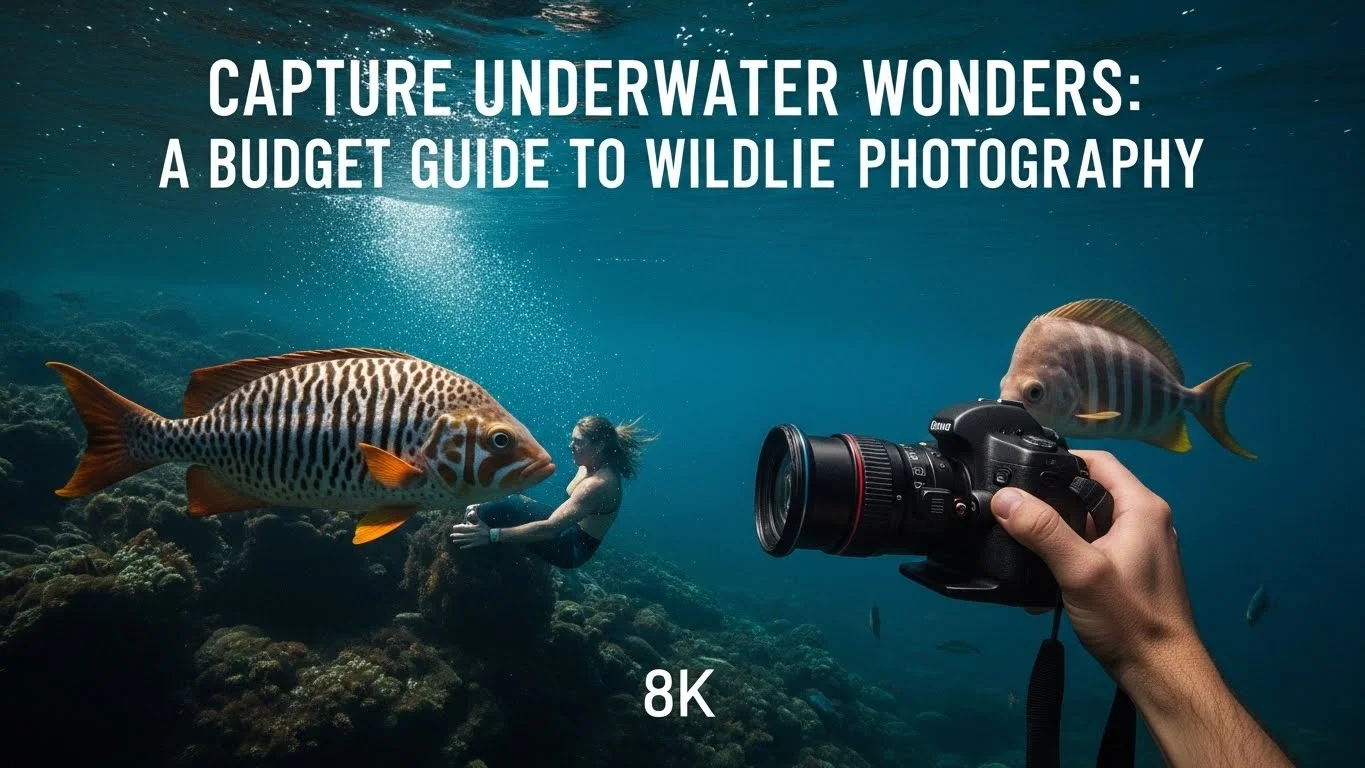
Underwater wildlife photography opens a mesmerizing world beneath the waves, showcasing vibrant marine life and stunning landscapes. Capturing these wonders doesn’t have to break the bank; with the right tips and gear, anyone can dive into this exciting hobby. Read Interesting article: Explore Wildlife Photography Tours: Budget-Friendly Guide
Understanding Underwater Wildlife Photography
What is Underwater Wildlife Photography?
I often find that underwater wildlife photography is more than just snapping pictures; it’s about immersing yourself in a vibrant ecosystem full of life. This genre focuses on capturing images of aquatic animals and their habitats, revealing the stunning beauty and complexity of underwater environments. From colorful coral reefs to elusive creatures lurking in the shadows, there’s so much to discover beneath the surface. I remember my first time diving with a camera, feeling both excited and nervous as I ventured into a whole new world. Each click of the shutter opened up new possibilities and experiences.
Importance of Wildlife Photography
Wildlife photography serves a vital role in conservation efforts and environmental awareness. By showcasing the beauty and diversity of marine life, we can inspire others to appreciate and protect these ecosystems. I believe that when people see stunning images of underwater creatures, it ignites a sense of wonder and responsibility. It encourages us to think about the impact of our actions on the ocean and its inhabitants. Anytime I share my photos, I see how they spark conversations and motivate others to get involved in preservation efforts. It makes me feel proud to contribute to this cause, even if it’s through my camera lens. If you’re interested in wildlife photography beyond underwater, check out The Ultimate Guide to Wildlife Bird Photography for Travelers.
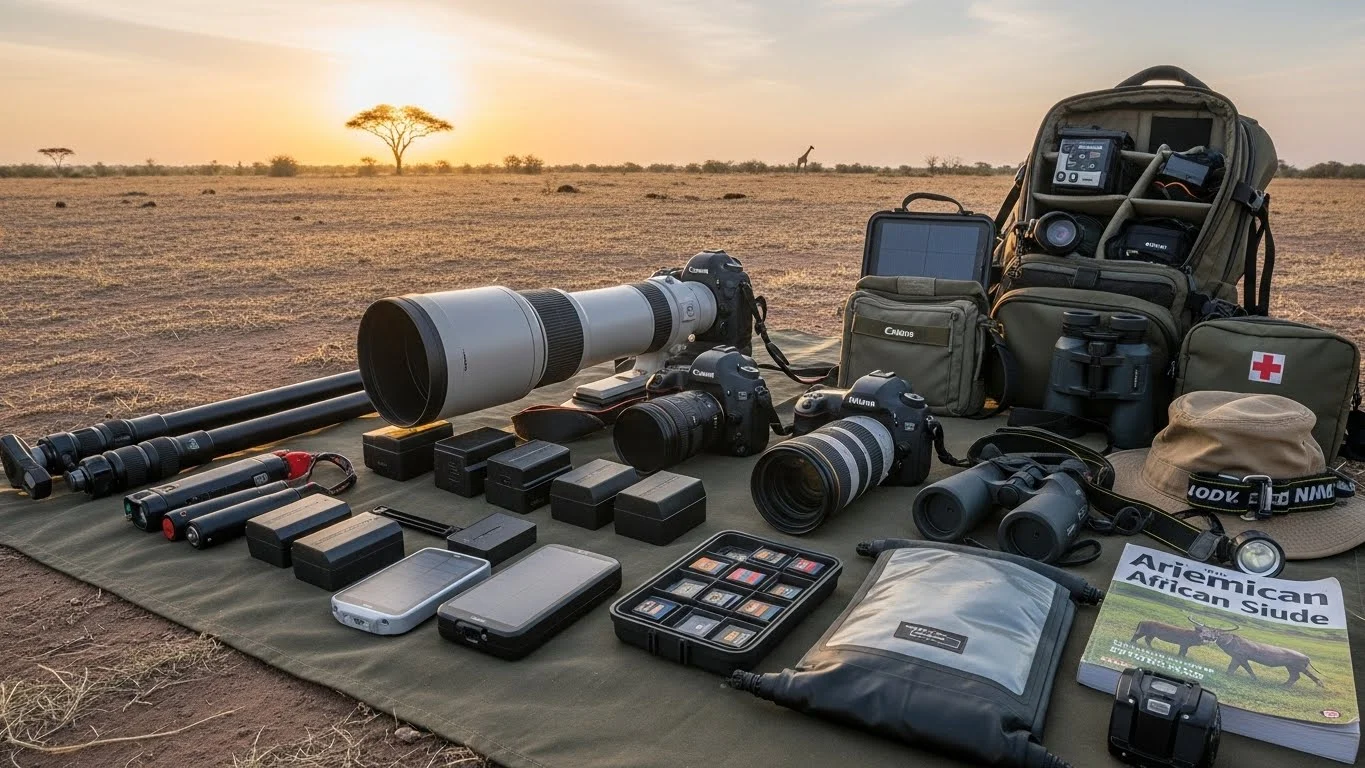
Essential Equipment for Underwater Photography
Camera Options: DSLRs vs. Mirrorless
Choosing the right camera is crucial for underwater photography. Personally, I’ve experimented with both DSLRs and mirrorless cameras, and each has its pros and cons. DSLRs are often more robust and offer a wide range of lenses, but they can be bulky and heavy to carry while diving. On the other hand, mirrorless cameras are lighter and more compact, making them easier to maneuver underwater. They also have excellent video capabilities, which I find handy when capturing the dynamic movements of marine life. I recommend trying both types if you’re unsure which suits you best; rent them if possible and see what feels right.
Lens Selection for Underwater Shots
When it comes to lenses, I’ve learned that choosing the right one can make a significant difference in the quality of your images. Wide-angle lenses are perfect for capturing expansive seascapes and schools of fish, while macro lenses allow you to get up close and personal with tiny creatures like nudibranchs or coral polyps. I’ve spent hours photographing the intricate details of these small wonders, and the results can be breathtaking. Depending on your style, having one of each type can offer versatility, letting you adapt to different underwater situations.
Underwater Housing and Protection
Protecting your camera is essential when diving. I remember my first underwater housing experience; it felt like a rite of passage. These housings keep water out and allow you to use your camera safely underwater. There are many options available, from affordable plastic housings to high-end aluminum ones. I started with a budget plastic housing, which worked well for my initial dives. Just make sure it’s rated for the depth you plan to explore. If you decide to invest in a more expensive option later, you’ll appreciate the added durability and features it brings.
Lighting Equipment: Strobes and Video Lights
Lighting can be tricky underwater due to the way water absorbs colors, especially reds and oranges. I’ve found that using strobes can dramatically improve my images by adding light where it’s needed most. Strobes provide a burst of light, helping to bring out the vibrant colors of marine life. If you’re into video, LED video lights can enhance your footage and offer continuous lighting. While they can be pricey, there are budget options that still get the job done. Experimenting with different lighting setups has truly transformed my photography.
Accessories: Floatation Devices and Tripods
Lastly, don’t overlook the importance of accessories. Floatation devices can help keep your camera buoyant, making it easier to handle while you’re swimming. I often use these to prevent accidental drops. Tripods might seem unnecessary for underwater photography, but they can help stabilize shots, especially in calmer waters. I’ve found that having a stable base can make a world of difference when trying to capture intricate details or longer exposures. Investing in these small items can improve your overall shooting experience.
Budget-Friendly Photography Gear
Affordable Camera Models for Beginners
Starting out in underwater photography doesn’t mean you need to spend a fortune on high-end gear. I remember feeling overwhelmed by the options when I first began, but I quickly learned that there are plenty of affordable camera models that can produce stunning results. For instance, I found that compact cameras with good waterproof capabilities are excellent for beginners. Models like the Olympus Tough series or the GoPro cameras provide durability and are user-friendly, making them perfect for someone just diving into this hobby. I’ve captured some of my favorite underwater moments with these cameras, and they’ve held up surprisingly well against the elements.
If you’re looking for something with more manual control, consider entry-level DSLRs or mirrorless cameras. Brands like Canon and Nikon offer budget-friendly options that perform well underwater when paired with the right housing. I think it’s essential to find a camera that feels comfortable in your hands and meets your needs as you explore underwater photography. Don’t hesitate to browse local second-hand shops or online marketplaces, as you can often find great deals on gently used gear.
Cost-Effective Underwater Housing Solutions
When it comes to underwater housing, the price range can be quite wide. I initially opted for a budget plastic housing, which worked well for my early dives. While it wasn’t as durable as some higher-end options, it did the job and kept my camera safe. I found that many manufacturers offer affordable housings designed for specific camera models that provide decent protection against water without breaking the bank.
As I gained more experience and confidence, I decided to upgrade to a more robust aluminum housing. The investment was worth it for me because it offered better sealing and protection, especially when diving in more challenging conditions. However, I still recommend starting with a budget-friendly option to see if underwater photography is for you. If it turns out to be your passion, you can always invest in something more advanced later on.
DIY Accessories for Underwater Photography
One of the exciting aspects of underwater photography is that you can create many of your own accessories without spending much money. For example, I’ve made my own floatation devices using pool noodles cut to size. These are lightweight, easily attachable, and help keep my camera buoyant while I’m swimming. It’s a simple solution that has saved my camera from sinking a few times!
Another DIY project I tackled was creating a custom tray for my strobes. I used some PVC pipe, connectors, and a few screws to build something that fits my setup perfectly. This not only saved me money but also allowed me to fine-tune the placement of my lights for underwater shots. I love that I could personalize my gear to fit my needs. With a little creativity, you can come up with some fantastic solutions that enhance your underwater photography experience.
Techniques for Capturing Underwater Wonders
Understanding Water Conditions and Lighting
Before heading underwater, I’ve learned to take a moment to assess the water conditions. Things like current, visibility, and light can greatly impact my photography. I remember a dive where the visibility was poor, and it taught me the importance of being patient and adaptable. If the water is murky, I often switch to macro photography to capture smaller subjects that are easier to focus on. Understanding how light behaves underwater is equally crucial; I’ve found that the angle of the sun can create beautiful effects on your shots, especially during early morning or late afternoon dives.
Best Practices for Composition
When composing my underwater shots, I try to keep things simple yet captivating. I often follow the rule of thirds, which helps create a balanced image. I remember one instance when I was photographing a sea turtle; placing it off-center made the image more dynamic and engaging. I also love incorporating natural frames, like coral or rock formations, to add depth to my photos. Being mindful of the background is just as important; I aim to minimize distractions that could pull attention away from the subject.
Using Natural Light vs. Artificial Light
Deciding between natural light and artificial light can dramatically change the look of your underwater images. I’ve had many successful dives using only natural light, especially in shallow waters where sunlight penetrates beautifully. I often find that the golden hour is the best time for shooting, as the soft lighting creates a magical atmosphere. However, if I dive deeper, I usually rely on strobes or video lights to bring out the colors and details that might otherwise be lost in the depths.
Tips for Photographing Marine Wildlife
Capturing marine wildlife can be both thrilling and challenging. I’ve found that patience is key. When I approach a subject, I try to move slowly and calmly to avoid startling them. I often spend time observing before I start shooting, which helps me understand their behavior. This way, I can anticipate their movements and capture more dynamic shots. I also recommend keeping my camera settings ready before diving, so I’m prepared to capture that perfect moment when it arises. Each encounter with marine life is unique, and being ready is half the battle!
Choosing the Right Locations for Underwater Photography
Top Budget-Friendly Dive Spots
One of the most exciting aspects of underwater photography is the adventure of choosing dive locations. I’ve explored many places, and some of my favorites are incredibly budget-friendly. For instance, I discovered that local dive sites often have hidden gems just waiting to be photographed. I remember venturing to a nearby lake with a group of friends; the underwater scenery was surprisingly beautiful, filled with colorful fish and interesting rock formations. It’s amazing what you can find in your own backyard!
If you’re looking for ocean dives, consider exploring places like Cozumel in Mexico or the Florida Keys. I’ve visited both locations multiple times and found that they offer stunning coral reefs teeming with life, all without breaking the bank. I often recommend checking out local dive shops that offer package deals or group rates. This way, you can save money while meeting fellow photography enthusiasts and sharing tips along the way!
Best Times of Year for Underwater Photography
Timing can make a significant difference in your underwater photography experience. I’ve learned that certain seasons bring unique underwater wildlife encounters. For example, I discovered that many marine species have specific migration patterns, which can lead to breathtaking photo opportunities if timed right. I remember planning a trip to Bonaire during the winter months and being rewarded with stunning sightings of large schools of fish and vibrant corals. The visibility was phenomenal, and the lighting conditions were perfect for photography.
Researching local seasons is key. I often check marine calendars to determine when certain species are most active or migrating. Additionally, I find that early morning or late afternoon dives tend to offer the best natural light. During these times, the sun creates beautiful patterns and colors in the water, making it more vibrant for photography. I’ve captured some of my best images during these golden hours!
Safety Considerations While Diving
As thrilling as underwater photography can be, safety should always be a top priority. I remember the first time I ventured out to shoot underwater; I was so caught up in capturing the moment that I forgot to pay attention to my surroundings. I quickly learned that keeping an eye on my air supply and monitoring my buoyancy is essential. I recommend practicing good dive habits, like checking your equipment before entering the water and keeping a buddy system in place. Having someone to watch your back can make a world of difference.
It’s also important to be aware of potential hazards in the water. I’ve encountered strong currents, sharp coral edges, and even jellyfish during my dives. Before diving into a new location, I always ask local divers about potential risks and how to navigate the area safely. Staying informed helps keep our underwater adventures enjoyable and safe.
Post-Processing Your Underwater Images
Editing Software Options
After a dive, I find that post-processing plays a crucial role in bringing my underwater images to life. I’ve tried various editing software, from free options like GIMP to more advanced programs like Adobe Lightroom and Photoshop. Each has its strengths, but I usually stick with Lightroom for its user-friendly interface and powerful features. It allows me to enhance my photos quickly while maintaining a natural look.
If you’re just starting out, I recommend exploring free trials of different software to see what works best for you. I often watch tutorials online to learn specific techniques that can elevate my editing game. There’s a whole world of editing possibilities, and it’s exciting to see how a few adjustments can transform an image!
Basic Editing Techniques for Underwater Photos
When it comes to editing my underwater images, I typically focus on a few key techniques. One of the first things I do is adjust the white balance. Since underwater photos often suffer from color loss, fixing the color can revive the image significantly. I remember my initial struggles with color correction, but practice made me more confident. I learned to use the eyedropper tool to select areas that should be white or neutral to balance the colors effectively.
I also like to play with exposure and contrast. Adding a bit of contrast can help my subjects stand out against the background, making the overall image more engaging. Cropping is another essential part of my editing routine; I often find that refining the composition can elevate the shot, drawing the viewer’s eye to the subject more effectively. With these basic techniques, I’ve been able to enhance my underwater photographs and bring out their true beauty.
Enhancing Colors and Reducing Noise
Underwater photography can sometimes lead to noisy images, especially when shot at higher ISO settings. I’ve encountered this issue frequently, and I’ve learned that noise reduction tools in editing software can help smooth out these imperfections. It’s essential to find a balance, though; I’ve noticed that overdoing it can lead to losing detail, which is crucial for underwater shots.
To enhance colors, I often use saturation and vibrance sliders. I’ve discovered that boosting vibrance works well for underwater images since it enhances muted colors without affecting skin tones too much. I try to keep the enhancements realistic; I want my images to reflect what I saw in the water, not a fantasy version. With a little practice and experimentation, I’ve been able to develop a workflow that brings my underwater adventures to life in vibrant detail!
Frequently Asked Questions
What is underwater wildlife photography?
Underwater wildlife photography is about capturing images of aquatic animals and their habitats, revealing the beauty and complexity of underwater environments.
Why is wildlife photography important?
Wildlife photography plays a vital role in conservation efforts and environmental awareness by showcasing marine life, which can inspire people to appreciate and protect these ecosystems.
What camera options are recommended for underwater photography?
Both DSLRs and mirrorless cameras are suitable for underwater photography. DSLRs are robust with a wide range of lenses, while mirrorless cameras are lighter and more compact, making them easier to maneuver underwater.
What types of lenses should I use for underwater shots?
Wide-angle lenses are ideal for capturing expansive seascapes and schools of fish, while macro lenses are perfect for photographing tiny creatures like nudibranchs or coral polyps.
How can I protect my camera underwater?
Using underwater housing is essential to protect your camera from water damage. Options range from budget plastic housings to high-end aluminum ones, depending on your needs and budget.
What lighting equipment is useful for underwater photography?
Strobes can significantly improve underwater images by adding necessary light, while LED video lights can enhance video footage. Experimenting with different lighting setups is recommended.
Can I start underwater photography on a budget?
Yes, starting underwater photography doesn’t have to be expensive. Affordable compact cameras, entry-level DSLRs, and budget-friendly underwater housings are available for beginners.
What are some techniques for capturing underwater images?
Understanding water conditions and lighting, following best practices for composition, and being patient when photographing marine wildlife are key techniques for successful underwater photography.
What are some recommended dive locations for budget-friendly underwater photography?
Local dive sites, Cozumel in Mexico, and the Florida Keys are excellent budget-friendly locations known for stunning coral reefs and diverse marine life.
What editing techniques can enhance underwater photographs?
Key editing techniques include adjusting white balance, exposure, contrast, and cropping to enhance the overall image quality and make subjects stand out against backgrounds.