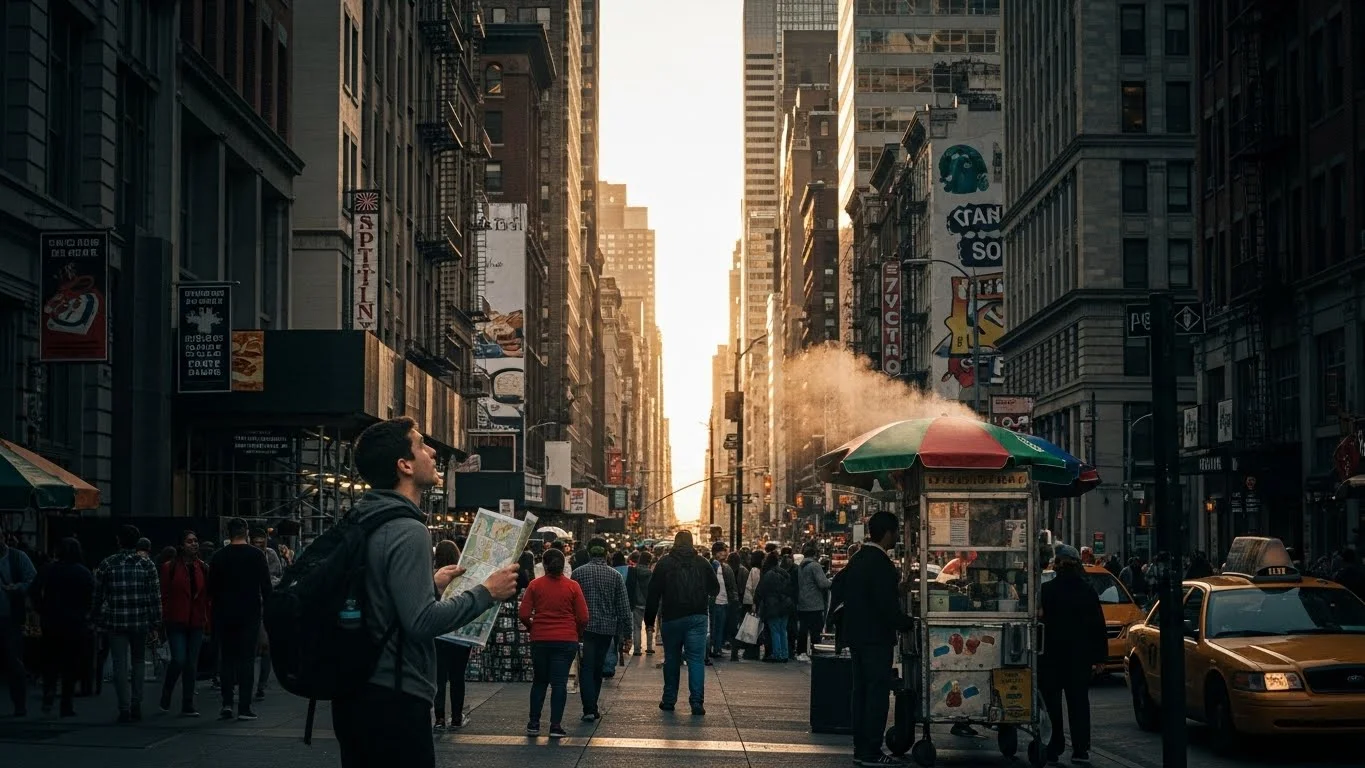
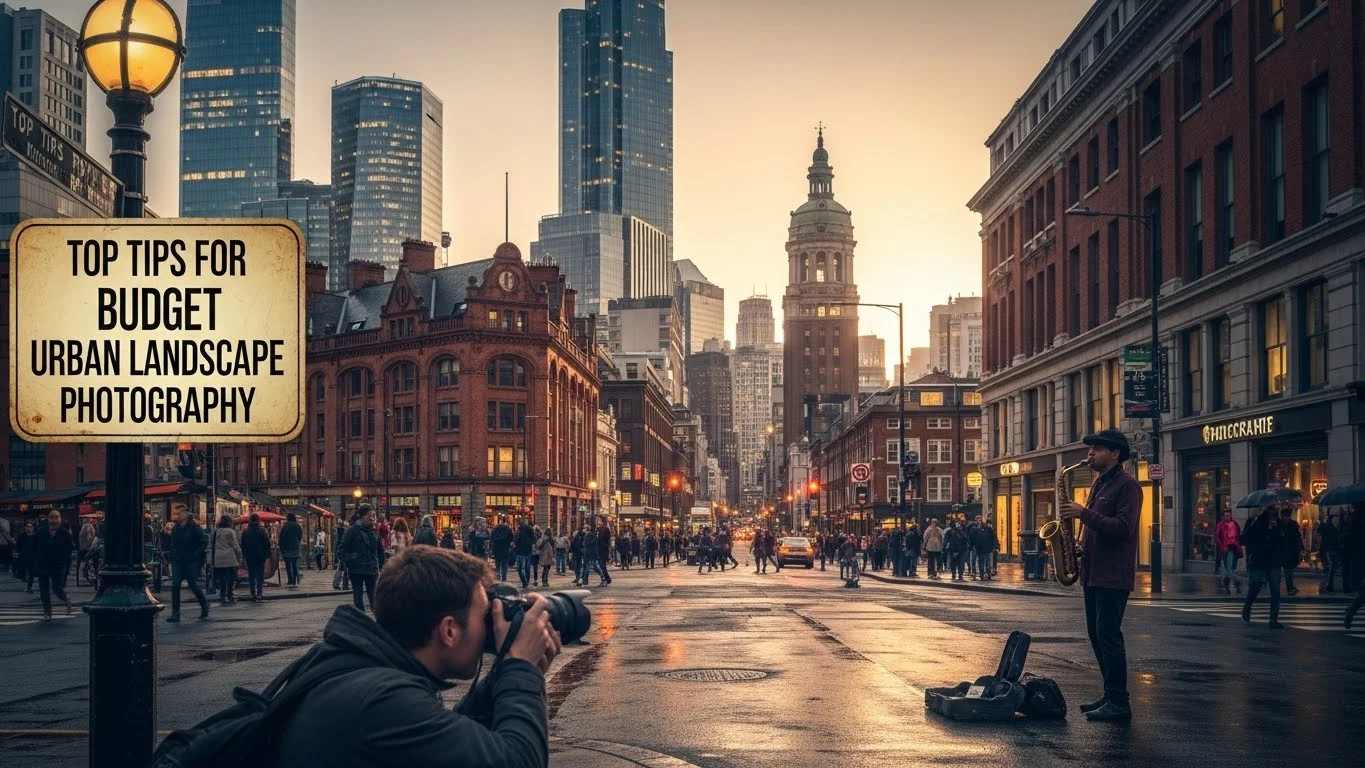
Urban landscape photography captures the essence of city life, combining architecture, nature, and human interaction. With the right budget gear, anyone can create stunning images that tell a story about their urban environment. Read Interesting article: Top Tips for Budget Urban Landscape Photography
Understanding Urban Landscape Photography
Definition and Importance
Urban landscape photography is all about exploring the beauty and complexity of cityscapes. It’s more than just snapping pictures of buildings; it’s an art form that captures the vibrancy and energy of urban life. I remember my first attempts—wandering through streets, looking for unique angles, and learning how to frame my shots. Each click of the shutter felt like I was freezing a moment in time. This genre is vital because it reflects our cultural identity and the evolution of cities. It’s a way to document change and share it with others. Capture Stunning Urban Landscapes on a Budget
Key Elements of Urban Landscapes
When diving into urban landscape photography, I noticed that several key elements stand out. First, the architecture itself can be breathtaking. Skyscrapers, historical buildings, and unique structures create a dynamic backdrop. Second, the interplay of light and shadow plays a significant role. The best moments often happen during golden hour or right after a rain shower, where reflections come to life. I’ve found that incorporating people into my shots adds a layer of storytelling, showing how they interact with their surroundings. Finally, don’t overlook the details—street art, textures, and even the ground beneath your feet can add depth to your images.
Essential Budget Gear for Urban Landscape Photography
Cameras
Choosing the right camera is crucial, but you don’t have to break the bank. I’ve experimented with various options and found some excellent budget-friendly choices. Depending on your preference, you might lean toward DSLR, mirrorless, or compact cameras, all of which have their strengths.
Best Budget DSLRs
For those who appreciate the feel of a traditional camera, I recommend considering budget DSLRs like the Canon EOS Rebel T7 or the Nikon D3500. These cameras offer great image quality without overwhelming you with advanced features you might not need. I found that the tactile experience of using a DSLR enhanced my photography, making it feel more personal.
Top Mirrorless Options
If you prefer a more compact and lightweight solution, mirrorless cameras are worth looking into. Cameras like the Sony Alpha a6000 or the Fujifilm X-T200 are fantastic choices for urban landscapes. They’re not only portable but also provide excellent image quality. I’ve loved how easily I could carry them around the city, allowing me to capture spontaneous moments without feeling weighed down.
Compact Cameras for Urban Exploration
For the ultimate in portability, compact cameras such as the Canon PowerShot G7 X Mark III or the Sony RX100 series are great options. I’ve used these for quick outings when I didn’t want to lug around a larger setup. Despite their size, they still deliver impressive image quality, making them perfect for capturing the essence of city life on the go.
Lenses
The lens you choose can dramatically change the outcome of your photos. I’ve learned that having the right lens for urban landscapes is essential, especially when capturing those stunning city views.
Wide-Angle Lenses for Cityscapes
Wide-angle lenses, like a 10-18mm or a 16-35mm, are fantastic for cityscapes. They allow you to capture more of the scene, making them ideal for towering skyscrapers or expansive parks. I remember the first time I used a wide-angle lens; it felt like I was able to encompass the entire city in one frame, which added so much depth to my work.
Prime vs. Zoom Lenses
When deciding between prime and zoom lenses, it’s essential to consider your shooting style. Prime lenses typically offer better quality and faster apertures, like the 35mm or 50mm. However, I have also enjoyed the versatility of zoom lenses, which allow for flexibility without constantly switching lenses. For me, it’s about what fits my shooting needs best in the moment.
Tripods
Stability is key in urban landscape photography, especially in low light or when using longer exposure times. I’ve relied on tripods to ensure my images are sharp and well-composed.
Lightweight vs. Heavy-Duty Tripods
When choosing a tripod, it’s essential to consider your travel plans. Lightweight tripods are easy to carry around, and I’ve taken mine on numerous city adventures. However, if you plan to shoot in windy conditions or need extra stability, a heavier tripod might be necessary. I’ve experienced the difference a stable tripod can make in capturing clearer images.
Budget-Friendly Tripod Brands
Brands like Manfrotto and Joby offer affordable options that don’t skimp on quality. I recommend checking out the Manfrotto B3 Compact Action or the Joby GorillaPod series. Both have served me well on my journeys, providing the stability I need without the hefty price tag.
Filters
Filters can enhance your shots significantly. I’ve found that using the right filters can be a game-changer in urban photography.
Polarizing Filters
A polarizing filter can help reduce glare from buildings and enhance the blue of the sky. It’s one of my go-to tools, especially on sunny days when I want to bring out the colors in my images.
Neutral Density Filters
Neutral density (ND) filters are perfect for long exposure shots, allowing you to capture motion blur in busy streets or smooth out water features. I remember my first experience using an ND filter; it opened up a whole new world of creativity in my photography.
Accessories to Enhance Your Gear
Camera Bags for Urban Settings
Having a good camera bag can make all the difference when shooting urban landscapes. I’ve tried different styles, and I’ve found that a backpack or a messenger bag with padded compartments works best for me. It allows for easy access to my gear while keeping it protected. I remember one day when I was out capturing street art; I needed to quickly switch lenses. Having a bag that I could easily open and close meant I didn’t miss that perfect shot. Look for bags that are lightweight but sturdy enough to carry your camera and accessories comfortably.
Lens Cleaning Kits
Urban environments can be dusty, and I’ve learned the hard way that keeping my lenses clean is essential for sharp images. Investing in a decent lens cleaning kit is a must. I usually carry a microfiber cloth and a blower to get rid of dust and smudges. One time, I was shooting a beautiful sunset over the skyline, and I noticed a smudge on my lens. Thankfully, I had my cleaning kit, and I was able to fix it quickly. A clean lens can significantly improve the quality of your photos, ensuring that every detail shines through.
Portable Battery Packs
When you’re out exploring a city, the last thing you want is for your camera to die on you. I’ve found that carrying a portable battery pack is a lifesaver, especially during long days of shooting. There have been occasions when I got so caught up in capturing street performances or vibrant market scenes that I lost track of time. Having a reliable battery pack allows me to recharge my camera on the go, ensuring I’m always ready to capture that next moment. I recommend looking for lightweight options that are easy to toss in your camera bag.
Editing Software on a Budget
Free vs. Paid Options
Editing is an integral part of photography, and I’ve discovered that several great tools can fit any budget. When I first started, I experimented with free software like GIMP and Darktable. They offer robust features, but I eventually moved to paid options for more advanced tools. However, I still believe that you can achieve stunning results with free programs if you take the time to learn their ins and outs. It’s all about finding what works best for you and your style.
Best Software for Urban Photography
For urban landscape photography, I’ve found Adobe Lightroom to be incredibly helpful. It’s user-friendly and allows for batch editing, which is a huge time-saver when working with multiple shots from a single outing. Another option I love is Luminar, which has unique AI-driven features that can enhance your photos with just a few clicks. The editing process has become an exciting part of my photography journey. I enjoy experimenting with colors and contrasts to bring the vibrancy of the city to life in my images. Exploring Cities: Budget-Friendly Urban Landscape Shots
Tips for Urban Landscape Photography on a Budget
Finding Unique Locations
Exploring a city can lead you to incredible places if you keep your eyes open. I’ve learned that some of the best spots for urban landscape photography aren’t always the popular tourist attractions. I often search for lesser-known neighborhoods, hidden alleyways, and local parks. Sometimes, I simply wander without a plan, allowing my curiosity to guide me. On one of my outings, I stumbled upon an abandoned factory that had been transformed into an art space. The combination of urban decay and creativity made for some of my favorite shots.
Timing and Lighting Considerations
The time of day can drastically change the look and feel of your photos. I’ve found that early mornings or late afternoons—during the golden hour—provide the best lighting for urban landscapes. The soft, warm glow adds depth and beauty to my images. I also pay attention to the weather; sometimes, overcast days can create a moody atmosphere that works well for city shots. I remember capturing a rainy day in the city, and the reflections on the wet pavement added a whole new dimension to my photos. Don’t shy away from unpredictable weather; it can lead to stunning results!
Using Natural Frames and Leading Lines
One of the best techniques I’ve learned is to use natural frames and leading lines to guide the viewer’s eye in my photographs. I often look for doorways, archways, or even trees that can frame my subject. Leading lines, like roads or pathways, can create a sense of depth and draw attention to the main focus of the image. I remember one instance where I used a bridge railing to lead into the city skyline. It created a compelling composition that really stood out. Experimenting with these techniques can elevate your shots and help you see the city from different perspectives.
Common Mistakes to Avoid
Overlooking Composition
Composition is everything in photography, and I’ve noticed that it’s often easy to overlook it in the hustle and bustle of urban environments. When I first started, I would get so excited about capturing a scene that I’d forget to think about how to frame it. I’ve learned to take a moment to assess the scene, consider the rule of thirds, and think about how elements fit together in my shot. This simple practice can transform an average photo into something truly eye-catching.
Ignoring the Weather
Weather can be a photographer’s best friend or worst enemy. I’ve found that instead of shying away from less-than-perfect conditions, I should embrace them. For example, shooting on a cloudy day can diffuse harsh sunlight and create softer shadows. I remember capturing a vibrant street scene while it drizzled, and the colors popped beautifully against the grey backdrop. Don’t let weather forecast discourage you—sometimes the most unexpected conditions lead to the most incredible photos.
Not Planning Your Shots
While spontaneity is great, I’ve found that a little planning can go a long way. I often do some research on locations and potential angles before heading out. This doesn’t mean I stick rigidly to a plan, but having a few ideas in mind gives me a starting point. I remember a day when I planned to shoot at a popular urban park but discovered an art festival was happening nearby. This unexpected event turned out to be a goldmine for unique shots! So, while it’s good to have a plan, be open to new adventures.
Conclusion: Making the Most of Your Budget Gear
As I reflect on my journey in urban landscape photography, I’ve realized that the true essence of capturing city life lies not in the equipment we use, but in how we utilize it. Budget gear has its limitations, but it can also open up a world of creativity if we approach it with the right mindset. I often remind myself that great photography is about vision, practice, and an authentic connection to the environment.
Embrace Creativity with Constraints
When I first started photographing urban landscapes, I felt constrained by my budget gear. I remember feeling envious of those who had the latest cameras and lenses, thinking it would make all the difference in my photos. Over time, I learned to embrace those constraints. I discovered that limitations can foster creativity. Instead of focusing on what I didn’t have, I began to experiment with angles, lighting, and compositions that highlighted the unique beauty of my surroundings. I’ve found that some of my most memorable shots came from moments when I had to think outside the box.
Practice Makes Perfect
One of the best pieces of advice I can give is to practice as much as you can. I’ve taken countless walks around my city, camera in hand, searching for inspiration. Each outing is an opportunity to learn something new. Initially, my photos might not have turned out how I envisioned, but I kept trying. I learned to analyze what worked and what didn’t, and over time, I noticed a significant improvement in my skills. I recommend setting aside dedicated time each week to explore and capture different aspects of the urban landscape. Whether it’s experimenting with new techniques or revisiting favorite spots, the key is to keep shooting.
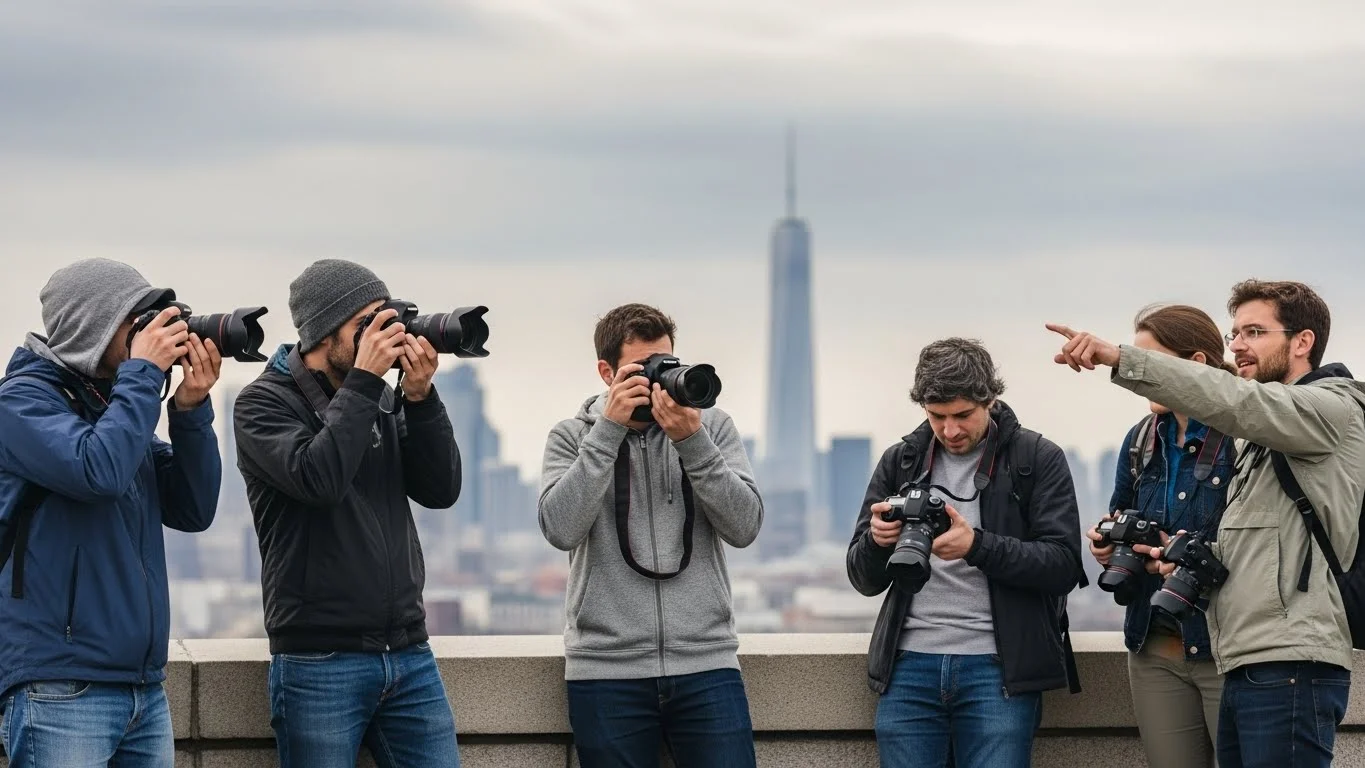
Building a Community
Another aspect that has enriched my experience is connecting with other photographers. I often participate in local photography groups and online communities where we share tips, critiques, and encouragement. I remember joining a neighborhood photo walk, and it was refreshing to see how others approached similar scenes. Their perspectives sparked new ideas for me. Engaging with a community not only motivates me but also opens up opportunities for collaboration. We can learn so much from each other, and those shared experiences can lead to some fantastic adventures.
Editing as an Extension of Your Vision
Editing is where I often realize the full potential of my images. When I first started editing, I felt overwhelmed by the plethora of options available, but I’ve learned to see it as an extension of my vision rather than just a technical chore. Each photo is an opportunity to enhance the story I want to tell. I enjoy spending time in Lightroom or Luminar, adjusting colors and contrasts to reflect the mood I felt when taking the shot. I encourage you to explore editing tools and find what resonates with you. Even slight adjustments can bring your urban landscapes to life in ways you may not have expected.
Always Be Ready to Capture the Moment
Lastly, one of the most valuable lessons I’ve learned is to always be ready to capture spontaneous moments. Urban photography is alive with energy, and opportunities can arise at any moment. I’ve had experiences where I stumbled upon street performers, vibrant markets, or unexpected street art that transformed an ordinary outing into an extraordinary photo opportunity. Having my camera easily accessible—whether it’s in a comfortable bag or slung over my shoulder—has allowed me to seize those fleeting moments and tell a story through my images.
In the end, urban landscape photography on a budget is not just about the gear we carry; it’s about how we engage with our surroundings and express our perspectives. By embracing creativity, practicing regularly, and connecting with others, we can create stunning images that truly capture the essence of city life. I believe that with passion and perseverance, anyone can become a skilled urban photographer, no matter what tools they have at their disposal.
Frequently Asked Questions
What is urban landscape photography?
Urban landscape photography captures the essence of city life, combining architecture, nature, and human interaction. It explores the beauty and complexity of cityscapes, reflecting cultural identity and the evolution of cities.
What are some key elements to consider in urban landscape photography?
Key elements include the architecture of buildings, the interplay of light and shadow, incorporating people into shots for storytelling, and paying attention to details like street art and textures.
What budget-friendly camera options are recommended for urban landscape photography?
Recommended budget-friendly cameras include DSLRs like the Canon EOS Rebel T7 and Nikon D3500, mirrorless options like the Sony Alpha a6000 and Fujifilm X-T200, and compact cameras such as the Canon PowerShot G7 X Mark III and Sony RX100 series.
Why are wide-angle lenses preferred for urban landscapes?
Wide-angle lenses, such as 10-18mm or 16-35mm, allow photographers to capture more of the scene, making them ideal for expansive cityscapes and towering structures.
What types of tripods are suitable for urban landscape photography?
Lightweight tripods are easy to carry around for urban adventures, while heavier tripods provide extra stability in windy conditions or for longer exposure times. Brands like Manfrotto and Joby offer budget-friendly options.
How can filters enhance urban landscape photography?
Polarizing filters reduce glare and enhance colors, especially the blue of the sky, while neutral density (ND) filters allow for long exposure shots, capturing motion blur in busy streets or smoothing out water features.
What editing software is recommended for urban landscape photography?
Adobe Lightroom is user-friendly and great for batch editing, while Luminar offers unique AI-driven features. Free options like GIMP and Darktable can also be effective for beginners.
What are some tips for finding unique locations for urban photography?
Explore lesser-known neighborhoods, hidden alleyways, and local parks. Wandering without a plan can lead to discovering unique spots that provide great photographic opportunities.
What common mistakes should photographers avoid in urban landscape photography?
Common mistakes include overlooking composition, ignoring weather conditions, and not planning shots ahead of time, which can lead to missed opportunities for great images.
How can one practice and improve their urban landscape photography skills?
Regular practice is key. Setting aside dedicated time to explore and capture different aspects of the urban landscape, experimenting with techniques, and analyzing what works can significantly improve photography skills.