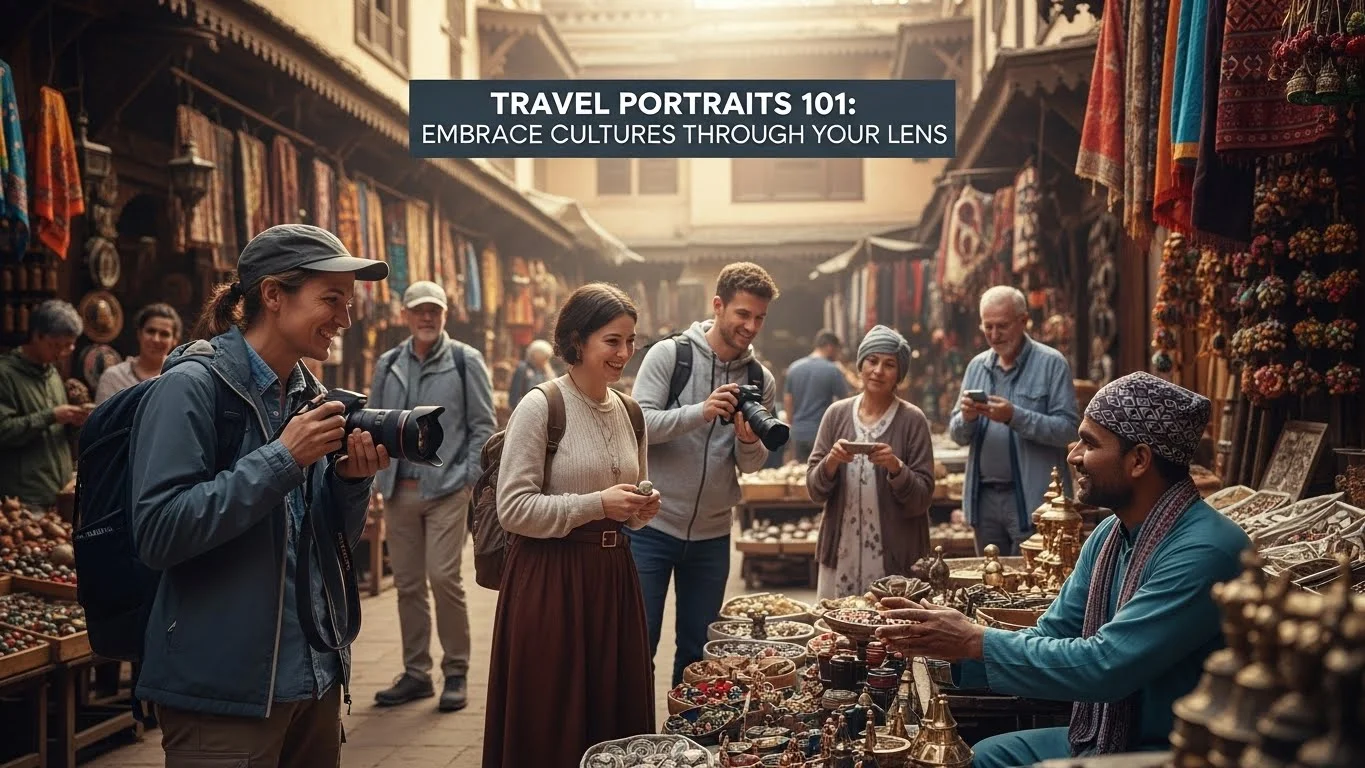
Capturing the essence of travel through portraits is a rewarding challenge, and mastering lighting techniques can elevate your photography. Let’s dive into how you can unlock perfect travel portraits using light. Read Interesting article: Master Travel Portrait Lighting: Tips for Stunning Shots
Understanding the Importance of Lighting in Travel Portraits
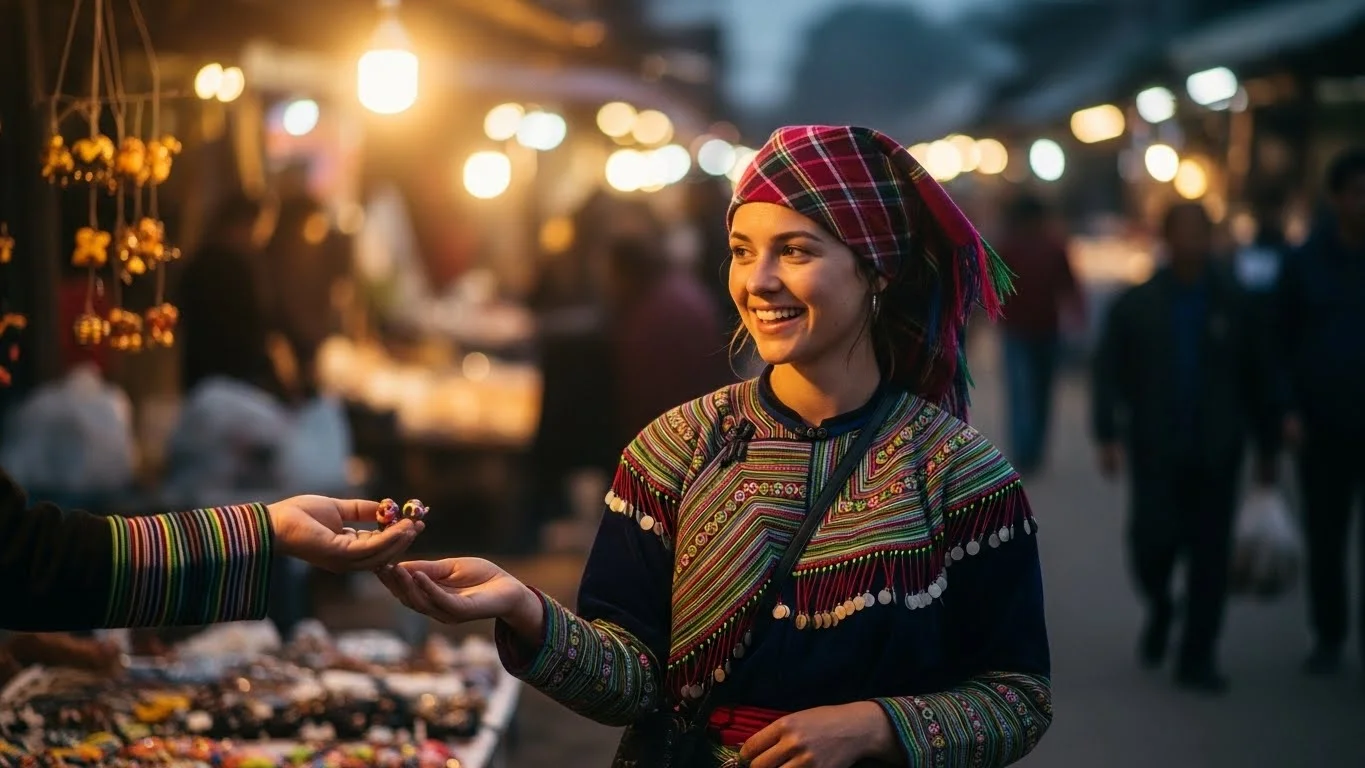
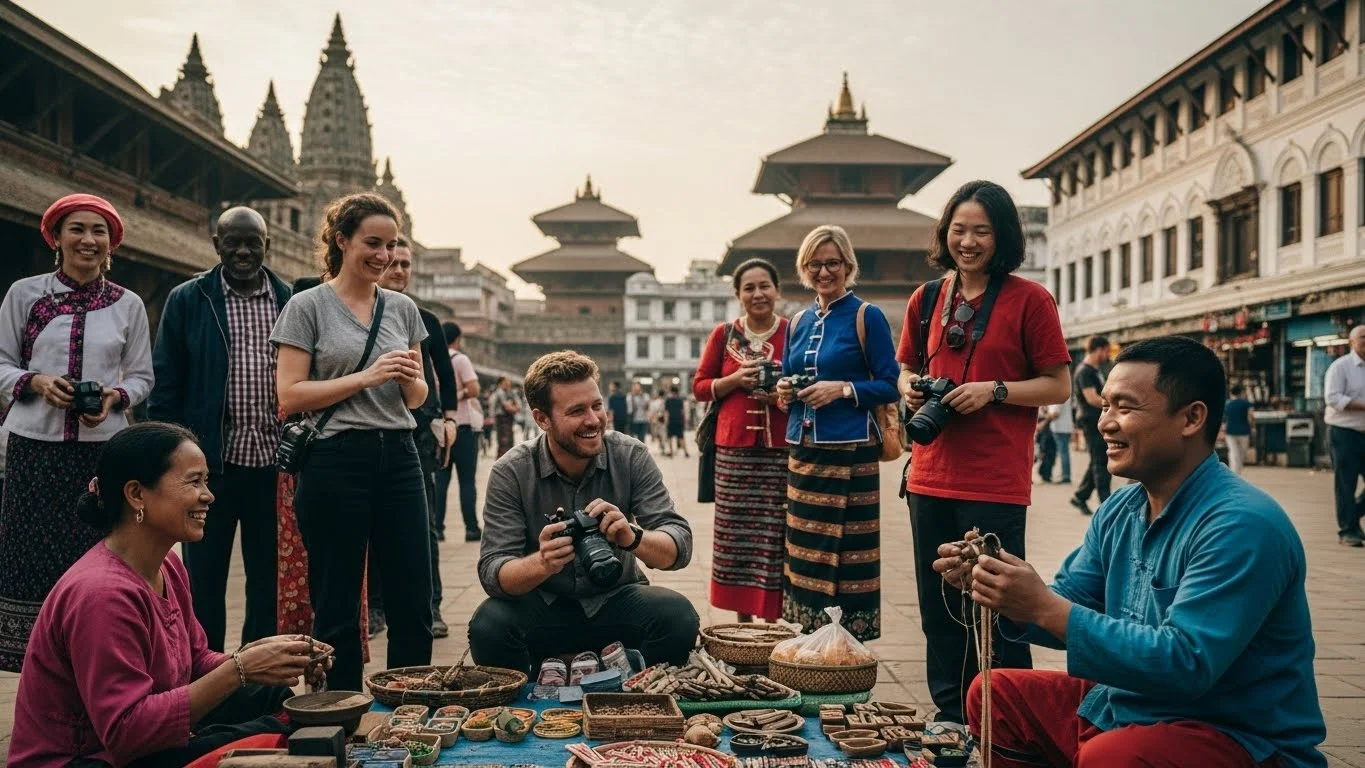
When I first started my journey in photography, I quickly learned that lighting is everything. Whether I’m snapping a picture of a bustling market in Marrakech or a serene sunset in Bali, the quality of light can make or break a portrait. Perfect lighting not only enhances the subject but also sets the mood and tells a story. Understanding how to manipulate light is crucial for anyone looking to capture stunning travel portraits.
Natural vs. Artificial Lighting
Natural lighting is my go-to when I’m traveling. There’s something incredibly beautiful about the way sunlight interacts with different environments. The golden hues of sunset or the soft glow of dawn can create magical moments that artificial lighting often struggles to replicate. I remember standing on a cliff in Santorini, the sun dipping below the horizon, casting warm tones on my friend’s face—absolutely enchanting!
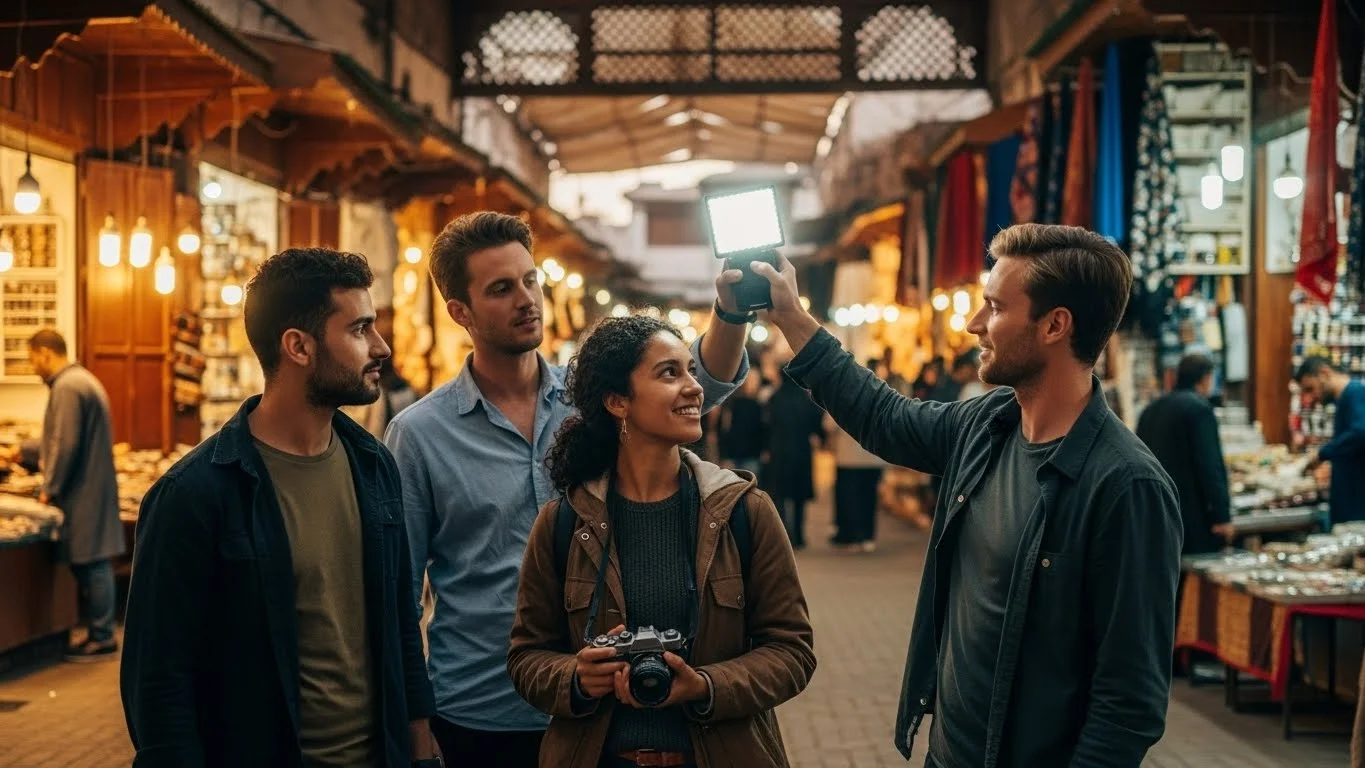
That said, there are times when artificial lighting comes in handy, especially in low-light situations like evening events or indoor settings. I’ve experimented with portable LED lights and speedlights, which can add a nice touch without overpowering the natural ambiance. The key is to blend them seamlessly with existing light to maintain a natural look.
The Role of Lighting in Photography Composition
Lighting also plays a pivotal role in composition. It directs the viewer’s eye and can highlight the most important parts of a portrait. For instance, I often find myself adjusting my angles to capture the light falling on my subject from a certain direction. Side lighting can create dramatic shadows and add depth, while front lighting ensures even illumination, making details pop. I’ve seen how a simple shift in the light can transform an ordinary shot into something extraordinary.
Essential Lighting Techniques for Stunning Portraits
Golden Hour: The Magic of Soft Natural Light
The golden hour, that magical window of time just after sunrise and before sunset, is my favorite moment for photography. During this time, the sunlight is soft and warm, creating a beautiful, flattering glow on the skin. I always plan my shoots around this time, and the results speak for themselves! I’ve captured portraits that look ethereal, almost like they belong in a dream. If you’re out exploring, keep an eye on the time and position yourself accordingly to harness this natural beauty.
Using Shadows to Add Depth and Interest
Shadows can be your best friend in portrait photography. I’ve found that incorporating shadows adds depth and can create visually striking images. For instance, if I’m shooting in a location with interesting architecture, I might position my subject so that the shadows from the buildings create patterns on their face. This technique gives a dynamic feel to the portraits and keeps them engaging. Just remember to be mindful of how shadows fall and adjust your positioning accordingly.
Backlighting: Creating a Silhouette Effect
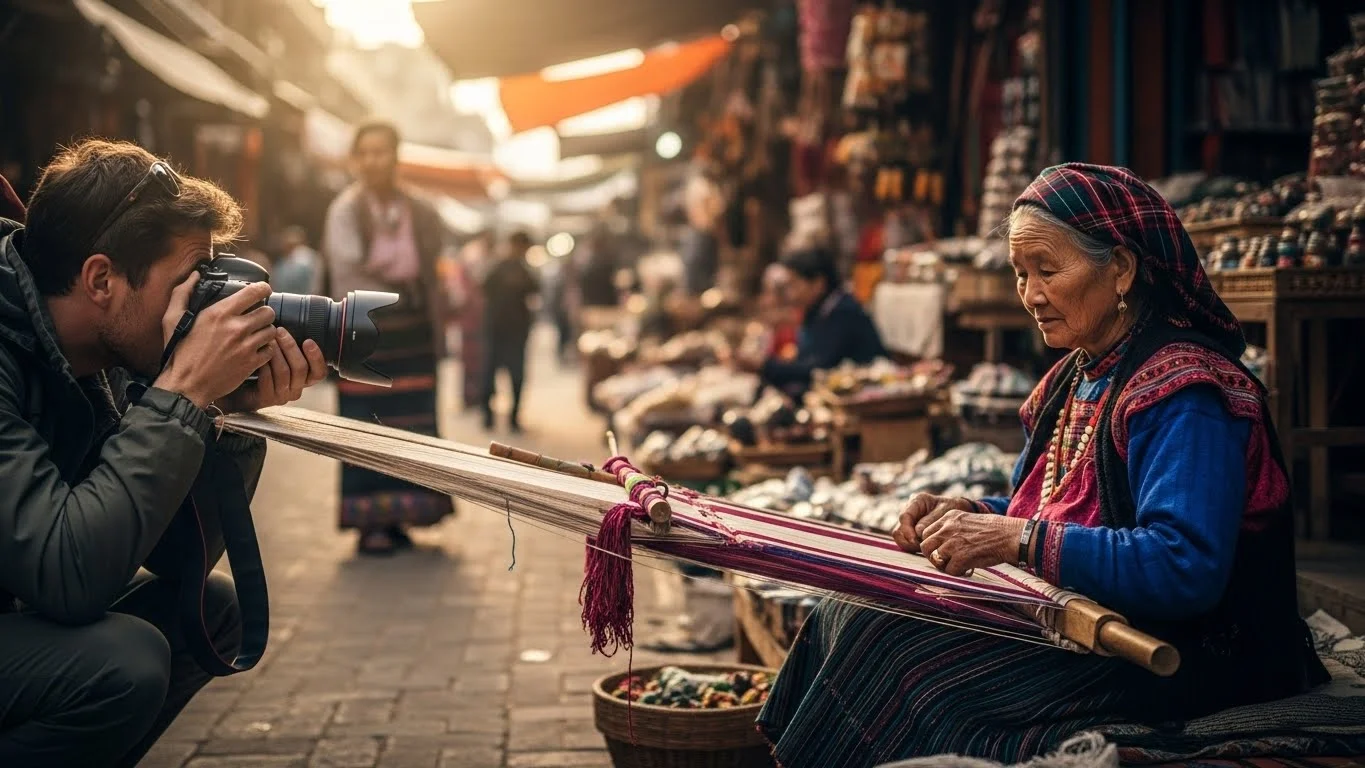
Backlighting can produce stunning silhouettes that are perfect for storytelling. I remember a time in Thailand, where I captured a beautiful silhouette of a monk walking past a temple at sunset. The sun was directly behind him, creating a dramatic outline. This technique can evoke emotions, making the viewer feel connected to the scene. Just ensure that your subject is positioned against a bright background to achieve that striking effect.
Reflectors: Enhancing Natural Light
Using reflectors is another fantastic way to enhance natural light, especially when shooting outdoors. I often carry a portable reflector in my bag. On a recent trip to the beach, I used it to bounce sunlight onto my subject’s face, illuminating their features beautifully while reducing harsh shadows. It’s an affordable tool that can drastically improve your portraits. I recommend experimenting with different types of reflectors—white, silver, or gold—to see how they affect the light.
Flash Photography: When and How to Use It
While natural light is my preference, I’ve learned that flash photography can be invaluable, especially in challenging lighting conditions. If I’m shooting in very bright sunlight, I’ll sometimes use a flash to fill in shadows on my subject’s face. It helps create a more balanced exposure. I’ve also found that using a diffuser on the flash softens the light, making it feel more natural. Flash can be a bit intimidating, but with practice, it can enhance your travel portraits significantly.
Lighting techniques are essential for capturing the beauty of travel portraits. By understanding and utilizing these methods, we can bring our travel stories to life through stunning imagery. Keep experimenting with different light sources, and you’ll be amazed at the results! Read Interesting article: Explore Cultures: How to Create Memorable Travel Portraits
Best Locations for Capturing Perfect Travel Portraits
Iconic Landmarks as Backdrops
I’ve always found that iconic landmarks can add a dramatic flair to travel portraits. They provide context and tell a story about the place I’m visiting. On my trip to Paris, I snapped a picture of my friend in front of the Eiffel Tower. The way the sun hit the tower created a gorgeous glow, and my friend’s excitement was palpable. It was a moment that perfectly captured the essence of our adventure. When shooting at landmarks, I like to think about the time of day and how the light interacts with the structure. Early mornings often bring softer light and fewer crowds, which is ideal for capturing that perfect shot without distractions.
Natural Landscapes: Beaches, Mountains, and Parks
There’s something magical about shooting in natural landscapes. I remember a trip to a secluded beach in Mexico, where the golden sands met the turquoise waters. I used the beach as my backdrop for some portraits, and the natural light reflected off the water created a stunning effect on my subject. The vibrant colors of nature can enhance skin tones and add depth to the photos. When I’m at a mountain location, I often look for areas where the light filters through the trees, casting interesting patterns and textures. It’s amazing how nature can serve as both a backdrop and a light source.
Urban Settings: Street Scenes and Architecture
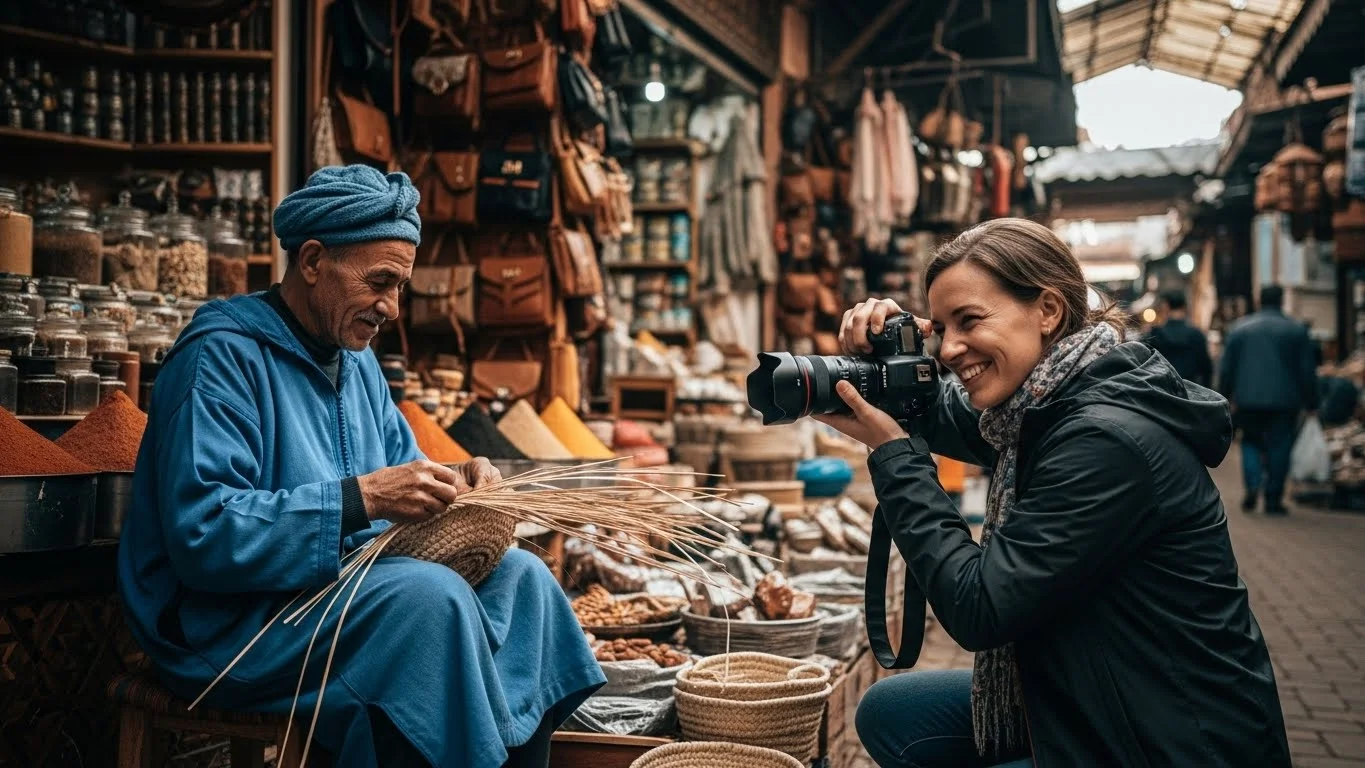
Urban environments offer a unique blend of character and light. I’ve spent hours wandering through the streets of cities like New York and Tokyo, capturing the hustle and bustle of city life. The interplay between shadows and light in these settings can be fascinating. I often position my subjects near colorful murals or architectural details that reflect the vibe of the city. The shadows created by tall buildings can add an edge to portraits, making them feel more dynamic. I love how street photography allows for spontaneity—sometimes the best shots happen when I least expect them!
Time of Day and Weather Considerations
Optimal Times for Outdoor Portraits
Timing is everything in photography. I’ve learned to schedule my outdoor shoots to align with the best light conditions. Early mornings and late afternoons are my favorite times to shoot because the light is softer, and the colors are more flattering. I often tell fellow photographers to embrace these golden hours, as they can transform an average portrait into something truly special. I remember one particular sunrise shoot at a lake, where the water was still, reflecting the vibrant hues of the sky. The results were breathtaking!
How Weather Affects Lighting and Mood
Weather can dramatically change the mood of a photograph, and I’ve experienced this firsthand. Overcast days can provide soft, diffused light, which is perfect for portraits without harsh shadows. I’ve found that shooting in cloudy conditions often results in beautiful, even skin tones. On a rainy day in London, I decided to embrace the weather and took portraits of my friends with umbrellas. The mist created an ethereal atmosphere, and the images ended up being some of my favorites. I think it’s essential to adapt to whatever weather comes our way; there’s beauty to be found in every condition.
Adapting to Overcast Conditions
Overcast days can be a blessing in disguise. I used to dread cloudy skies, thinking they would ruin my chances of capturing lovely portraits. However, I’ve learned to embrace them. The soft, diffused light eliminates harsh shadows, making it easier to capture details without overexposing highlights. I remember a cloudy afternoon in a botanical garden, where I captured vibrant flowers alongside my subjects. The even lighting made every color pop! If you find yourself shooting on an overcast day, try positioning your subjects near reflective surfaces, like water or light-colored walls, to bounce some light back onto their faces.
Camera Settings for Perfect Lighting
Understanding ISO, Aperture, and Shutter Speed
Getting the right camera settings can significantly impact how light is captured in your travel portraits. I remember when I first started, I was overwhelmed by all the options. Now, I feel more confident adjusting ISO, aperture, and shutter speed based on the lighting conditions. For example, when shooting in bright sunlight, I lower the ISO to minimize noise. In low-light situations, I increase the ISO, but I try to find a balance to keep the image clear without grain. Understanding these settings gives me the flexibility to react quickly to changing light.
Using Manual Mode for Better Control
Switching to manual mode was a game-changer for me. I love having total control over my settings, especially when the lighting conditions are tricky. I often play around with aperture to create that beautiful bokeh effect, making my subjects stand out against a blurred background. It’s in these moments of experimentation that I’ve learned how to manipulate light creatively. I encourage anyone feeling uncertain to give manual mode a shot; it opens up a whole new world of possibilities!
White Balance Adjustments for Accurate Color
One thing I’ve learned is that lighting can drastically affect color accuracy in portraits. I often adjust the white balance to match the light source—whether it’s natural sunlight, shade, or artificial light—to ensure colors look true to life. I remember a portrait session in a dimly lit café where the yellow light cast an unflattering hue on my subject’s skin. By adjusting the white balance, I was able to bring back the natural color and make the portrait pop. It’s such a simple adjustment that can make a big difference in the overall quality of the image.
Editing Techniques to Enhance Lighting in Portraits
Basic Adjustments in Lightroom or Photoshop
Even the best travel portraits can benefit from a little post-processing. When I first started editing my photos, I was amazed at how much I could enhance the lighting and overall feel of an image with just a few simple adjustments. In Lightroom, I typically start by tweaking the exposure to brighten up my portraits without losing the details. Increasing the shadows can also help bring out the features in my subject’s face, especially if I shot in harsh lighting conditions. I remember one portrait where the sunlight created a strong shadow across my friend’s face, but with a few adjustments, I was able to brighten it up and make it look natural again.
Another adjustment I love to play with is contrast. Adding a bit of contrast can help give depth to the image, making the colors pop while accentuating the highlights and shadows. I’ve found that a slight increase in clarity can also help sharpen details, making the eyes and other key features stand out in my portraits. My philosophy is to enhance the natural beauty of the shot while keeping it authentic. I think that’s what helps my travel portraits feel genuine and relatable.
Using Filters and Presets for Creative Effects
When I discovered filters and presets, it was like opening a treasure chest of creativity! I often use them to give my photos a distinct look that reflects the mood of the location. For example, a warm filter can evoke feelings of nostalgia and happiness, reminding me of my sunny days in Greece. I’ve created a few of my own presets that align with my style, focusing on enhancing warmth and vibrancy. It saves me time, especially when I have a large batch of images from a trip.
However, I believe it’s crucial to use filters in moderation. While they can enhance an image, overdoing it can lead to unnatural results. I’ve learned to adjust the opacity of filters to maintain a sense of realism. I remember applying a vibrant filter to a portrait taken at a bustling market in India; it was beautiful, but I had to tone it down to keep the colors true to life. Finding that balance is key to keeping my images authentic while still adding a touch of flair.
Correcting Exposure and Contrast Issues
There have been times when I’ve looked at my photos and felt disappointed because they weren’t quite right in terms of exposure. Whether it was too bright or too dark, I used to feel a bit defeated. But through practice, I learned how to correct these issues effectively. In Lightroom, the exposure slider has become my best friend. I often adjust the highlights and shadows to bring out more detail, especially in portraits taken in tricky lighting situations.
One particular instance that stands out was during a sunset shoot in the Sahara Desert. I captured a stunning portrait of a local wearing a vibrant turban, but my exposure was slightly off. After adjusting the exposure and contrast, the rich colors of the fabric came to life, and the portrait transformed into something magical. I felt a wave of relief and excitement as I realized the power of editing in bringing out the best in my travel portraits.
Common Mistakes to Avoid with Travel Portrait Lighting
Overexposure and Underexposure Pitfalls
One of the most common mistakes I’ve made (and I’m sure many photographers have, too) is dealing with overexposure and underexposure. It’s so easy to lose detail in bright highlights or leave shadows too dark. I remember a trip where I was so caught up in getting the shot that I didn’t pay attention to my settings. The result was a beautiful scene where my subject was almost a silhouette due to overexposure. It was a lesson learned! I now always check my histogram to ensure I’m capturing the full range of light without losing details.
To avoid this pitfall, I recommend keeping your camera settings in mind before shooting. When in doubt, I tend to underexpose slightly, as it’s easier to recover details in post-processing than to fix blown highlights. This approach has saved several portraits that I would have otherwise considered unusable.
Relying Solely on Flash in Daylight
While flash can be useful, I’ve learned the hard way that relying solely on it in daylight can lead to harsh and unflattering results. I remember a shoot where I thought using my flash would brighten up my subject’s face against a bright backdrop. Instead, the flash created an unnatural look that was jarring. Now, I try to use flash as a fill light rather than the primary source, especially in daylight. This way, I maintain a more natural feel while still illuminating the subject effectively.
Ignoring the Background and Its Lighting
Last but not least, I’ve often ignored the background lighting when focusing on my subject. This can lead to distracting elements that pull attention away from the portrait. I’ve realized that the background plays a crucial role in the overall composition. During my travels, I’ve trained myself to be more aware of how the light interacts with both my subject and the background. For example, if I’m shooting in a location with busy patterns or colors, I’ll adjust my angle to ensure the focus remains on my subject while still benefiting from the surrounding light. Paying attention to the background can elevate the entire image, making it more cohesive and visually appealing.
Frequently Asked Questions
What is the significance of lighting in travel portraits?
Lighting is crucial in travel portraits as it enhances the subject, sets the mood, and tells a story. Mastering lighting techniques can elevate the quality of photography significantly.
What is the golden hour, and why is it important for photography?
The golden hour refers to the time just after sunrise and before sunset when the sunlight is soft and warm. It is considered the best time for photography as it creates a flattering glow on the skin, making portraits look ethereal.
How can shadows be used effectively in portrait photography?
Incorporating shadows can add depth and visual interest to portraits. Positioning subjects to take advantage of shadows from interesting architecture can create dynamic and engaging images.
What is backlighting, and how can it enhance portraits?
Backlighting involves placing the light source behind the subject, creating silhouettes that evoke emotions and tell stories. It is effective for capturing dramatic outlines and can connect the viewer to the scene.
What role do reflectors play in enhancing natural light?
Reflectors are used to bounce sunlight onto the subject’s face, improving illumination and reducing harsh shadows. They are an affordable and effective tool for enhancing portraits outdoors.
When is flash photography recommended in travel photography?
Flash photography is recommended in challenging lighting conditions, such as bright sunlight, to fill in shadows on the subject’s face. Using a diffuser can help soften the light for a more natural appearance.
How does weather affect lighting and the mood of portraits?
Weather can dramatically impact the mood of a photograph. Overcast days provide soft, diffused light which is ideal for portraits, while rainy conditions can create an ethereal atmosphere, enhancing the overall feel of the images.
What camera settings are important for capturing light effectively?
Key camera settings include ISO, aperture, and shutter speed. Adjusting these based on lighting conditions allows for better control over exposure and clarity in portraits.
What editing techniques can enhance lighting in portraits?
Basic adjustments in software like Lightroom or Photoshop, such as tweaking exposure, contrast, and clarity, can significantly enhance the lighting and overall quality of portraits after the shoot.
What common mistakes should photographers avoid regarding lighting?
Common mistakes include overexposure and underexposure, relying solely on flash in daylight, and ignoring background lighting. Being mindful of these aspects can improve the overall quality and composition of travel portraits.